
I’ve been making my very own kombucha for some time now each since I spotted that my husband’s kombucha consuming behavior wasn’t going to cease any time quickly. It’s MUCH cheaper to brew it at dwelling and my husband likes it even higher than the shop model.
Methods to Make Kombucha
Making do-it-yourself kombucha does take fairly a couple of steps, however when you get used to the method, it’s fairly straightforward and can simply be one other factor that you simply add to your common routine. You can also make nearly any taste that you really want, and it’s enjoyable to experiment with totally different sorts to see what you want.
Please observe that I make 2 gallons of kombucha at a time as a result of that’s what I’ve for containers, and that’s what works for our household. Chances are you’ll have to make kind of relying on how briskly you undergo it. All of my instructions beneath can be for precisely how I make it.
What You Have to Make Kombucha
This tutorial relies on the concept your cultures are able to go. In case you are utilizing model new SCOBY starter cultures, you have to to comply with the instructions on the bundle.
The most cost effective technique to get your kombucha began is to only get a SCOBY starter from a pal that already brews kombucha. I acquired my tradition from my mother.
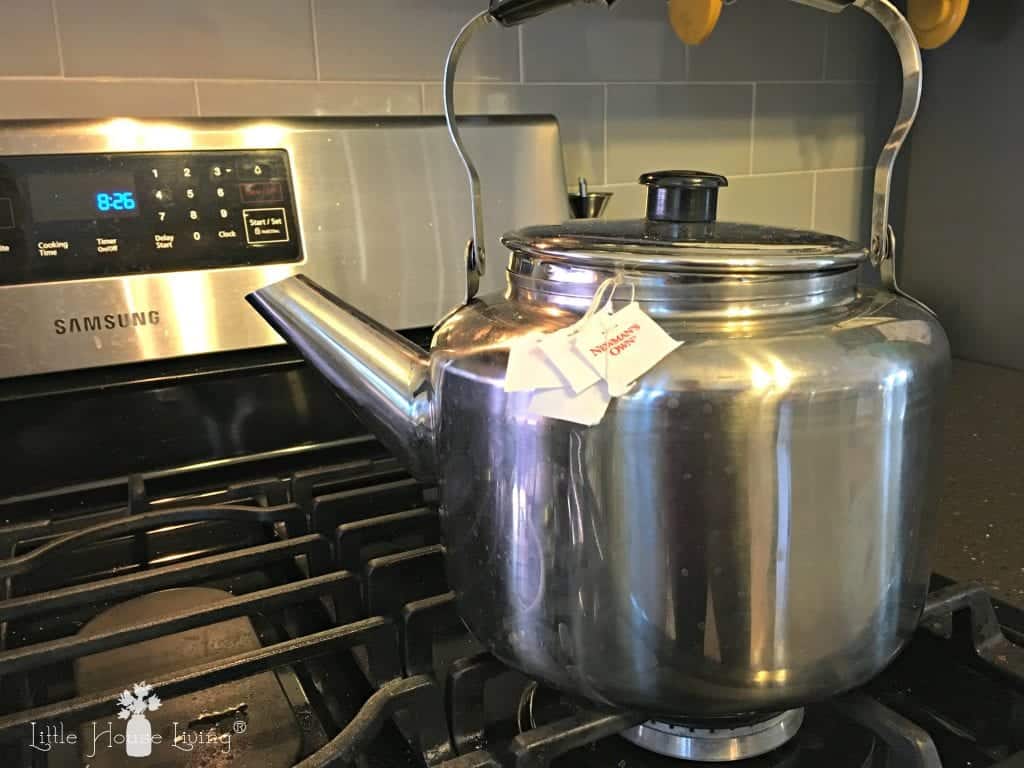
Assuming you aren’t ranging from scratch, the very first thing you’ll have to do is brew your black tea. I’ve the 7 Quart Size Tea Kettle from Lindy’s and I fill it full. Then I add 6 black tea bags (3 per gallon) and 1 1/2 cups of sugar (3/4 cup per gallon). The sugar is important to offer your cultures one thing to feed on, so don’t attempt to skip this step. Brew your sweetened tea like regular after which let it come to room temp. I often brew mine the evening earlier than to offer it loads of time to chill.
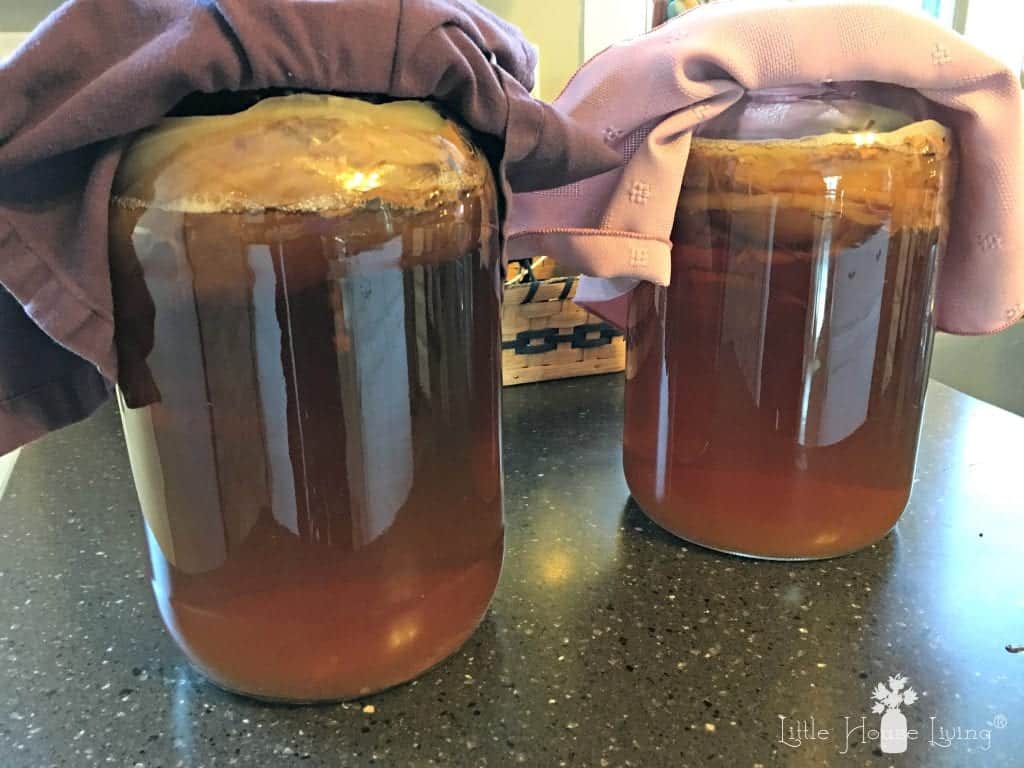
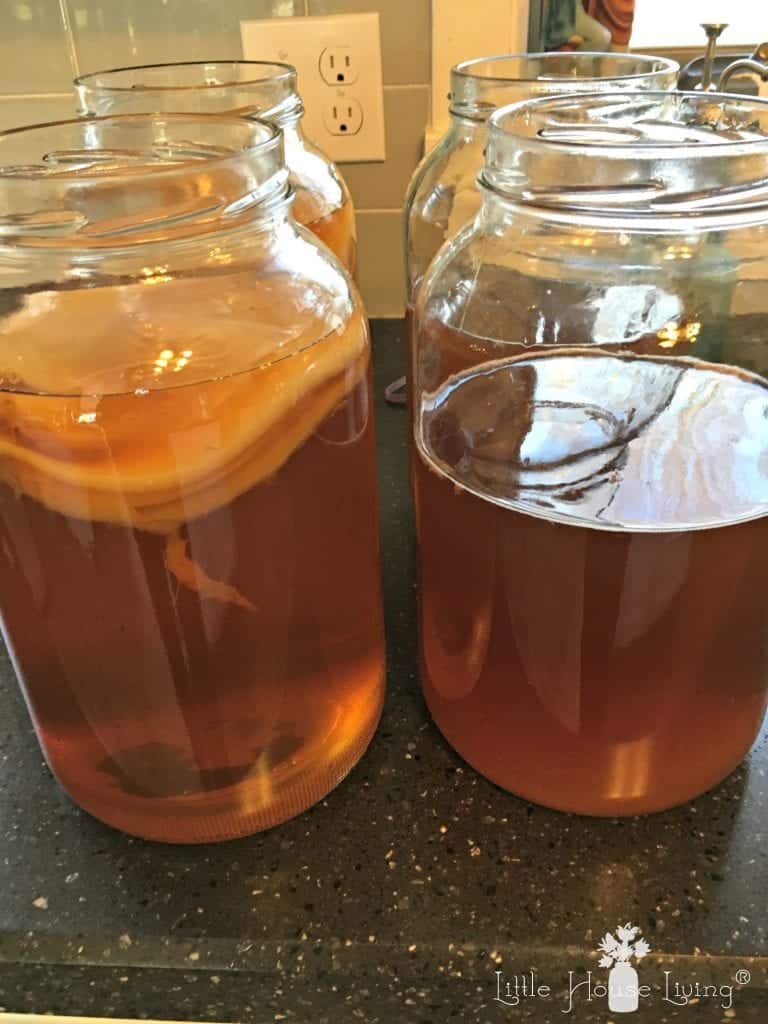
Right here’s a have a look at my kombucha that is able to go. You possibly can see that the SCOBY has many alternative layers, and I truly eliminated some once I made this batch as a result of it was attending to be an excessive amount of.
I retailer my gallons of fermenting kombucha within the pantry the place the temperature doesn’t fluctuate and it doesn’t get heat. I place a fabric serviette on the highest of the jars secured with a rubber band to offer it some respiratory room.

One other have a look at the layers of my SCOBY within the gallon jar.
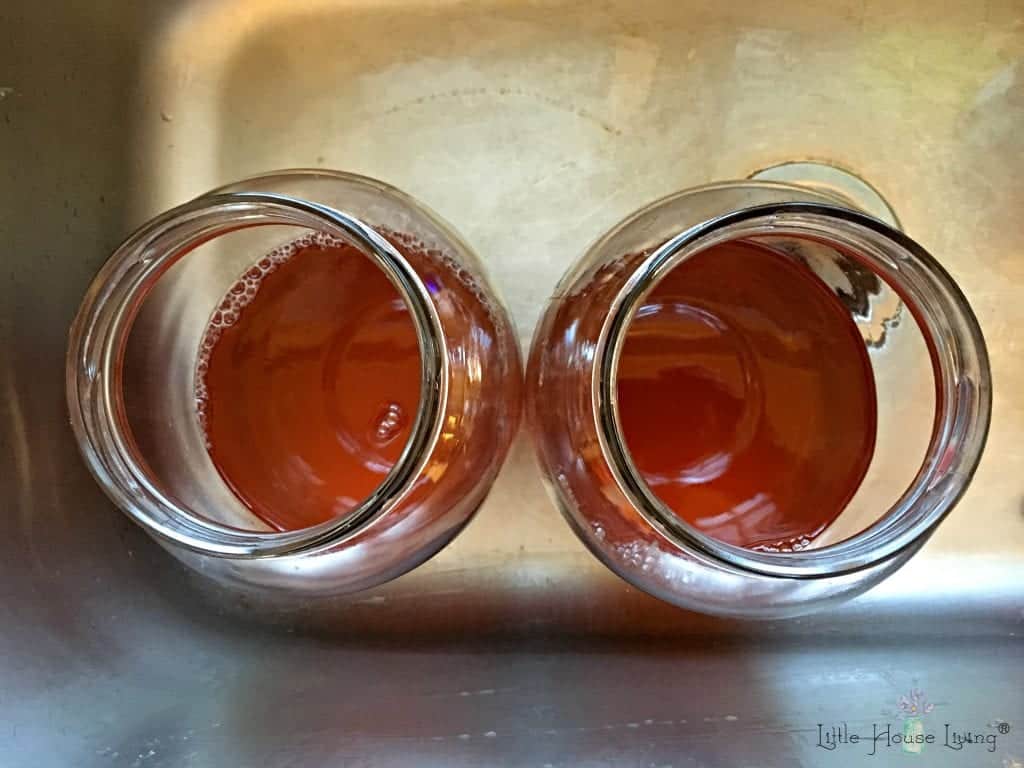
Getting began! Utilizing 2 clear gallon glass jars, pour half of the brewed black tea in every jar. I do that all within the sink as a result of I wish to make an enormous sticky mess.
Now take the already fermented gallon jar of kombucha and thoroughly take 2-3 cups of the liquid and put it into every of the brand new gallon jars (those with simply the tea). This can give your new gallon a bit of of the starter liquid to assist the SCOBY alongside.
Right here’s my Long Handled Measuring Spoons by the way in which. I LOVE them and use them for all the pieces!
When you’ve executed this, add water to your new gallon jars. Simply make sure and go away room for the SCOBY on the highest. I take advantage of filtered water from our Berkey. (And I pour it within the gallons with the milk jug that we use to fill our Berkey, which can also be from Lindys.)
Now you’ll have to take the SCOBY from the highest of the outdated gallon jar and add it to the brand new gallon. Be sure your palms are CLEAN earlier than you do that! You don’t have to introduce any dangerous micro organism to your kombucha. I simply decide up the SCOBY in my palms, fold it like a taco, after which set it down on the highest of the brand new gallon.
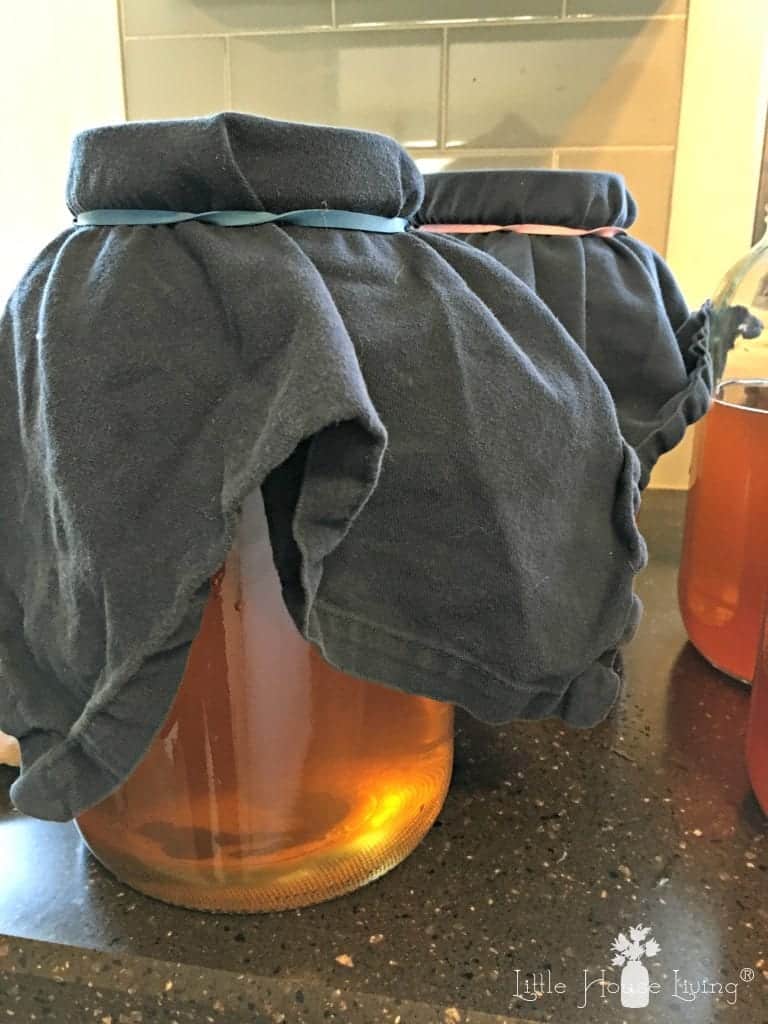
As soon as the transfers have been made, place a brand new, clear fabric serviette on the highest of the brand new gallon jar and safe it with a rubber band. Fastidiously place the jars of kombucha in your pantry or wherever you may retailer them in a cool, dry place. Then make a mark with a date 10 days from now so you understand when it’s time to repeat this course of once more. I simply make a remark on my planner.
Now for the opposite a part of this, the 2nd ferment! Every batch of kombucha may have 2 elements…getting the primary ferment able to go once more (identical to we did above), and getting the 2nd ferment going. For my second ferment, I take advantage of 3 outdated GT’S half gallon measurement jars. These appear to be the proper measurement for the way a lot kombucha we make at a time they usually have a pleasant prime which helps the tea carbonate higher.
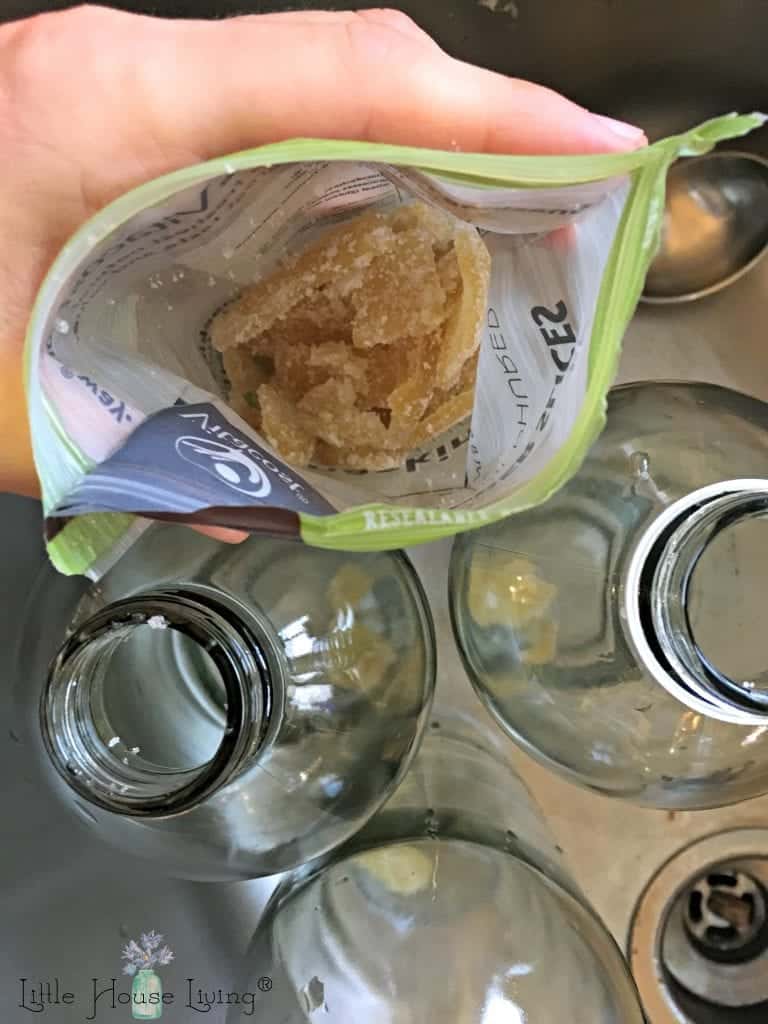
I begin by placing a slice or two of dried ginger in every of the bottles. You wish to get the type that’s coated in sugar (for the fermentation course of) and that doesn’t comprise sulfates.
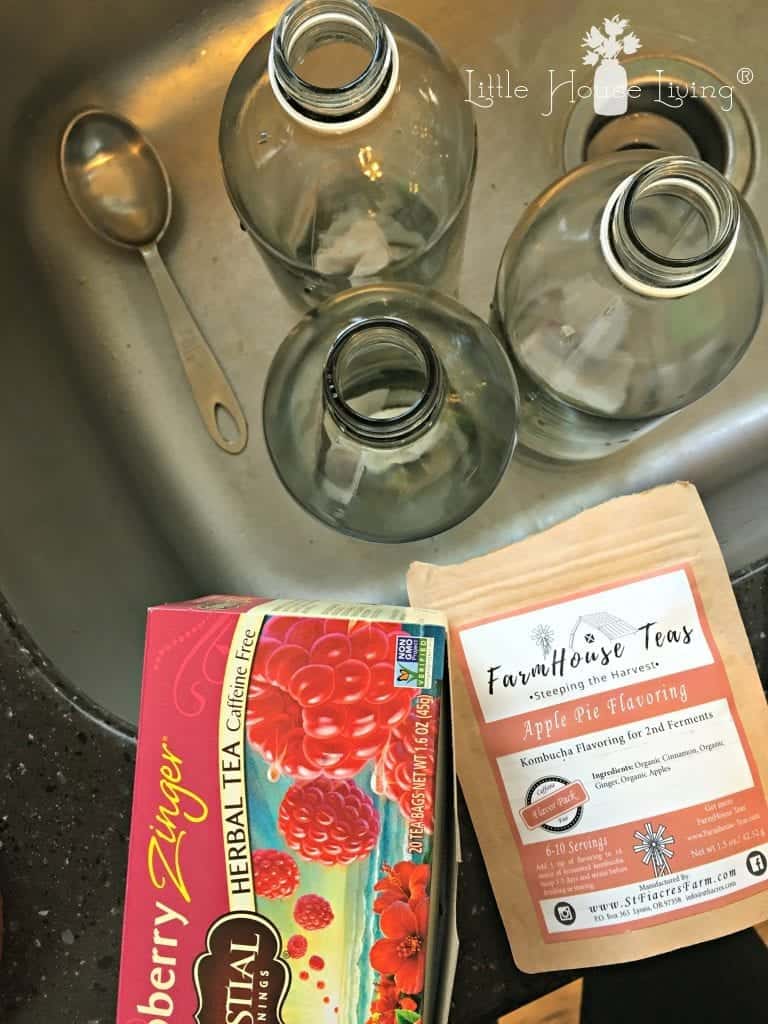
Now, you may decide what and the way you’ll taste your kombucha! When you don’t have any flavored tea available, you may merely slice in a few of your favourite fruits to offer it some taste. We’ve additionally executed a little bit of juice for taste as properly. The best approach we’ve discovered to taste our 2nd ferment is so as to add flavored tea. Celestial Seasonings teas are straightforward to seek out (you may get them on-line or at Walmart), and I’ve additionally tried the flavored free teas from Farmhouse Teas.
In case you are utilizing fruit, add no matter you’d like. In case you are utilizing tea luggage, 3 tea luggage per half-gallon appears to be the proper quantity of flavoring.
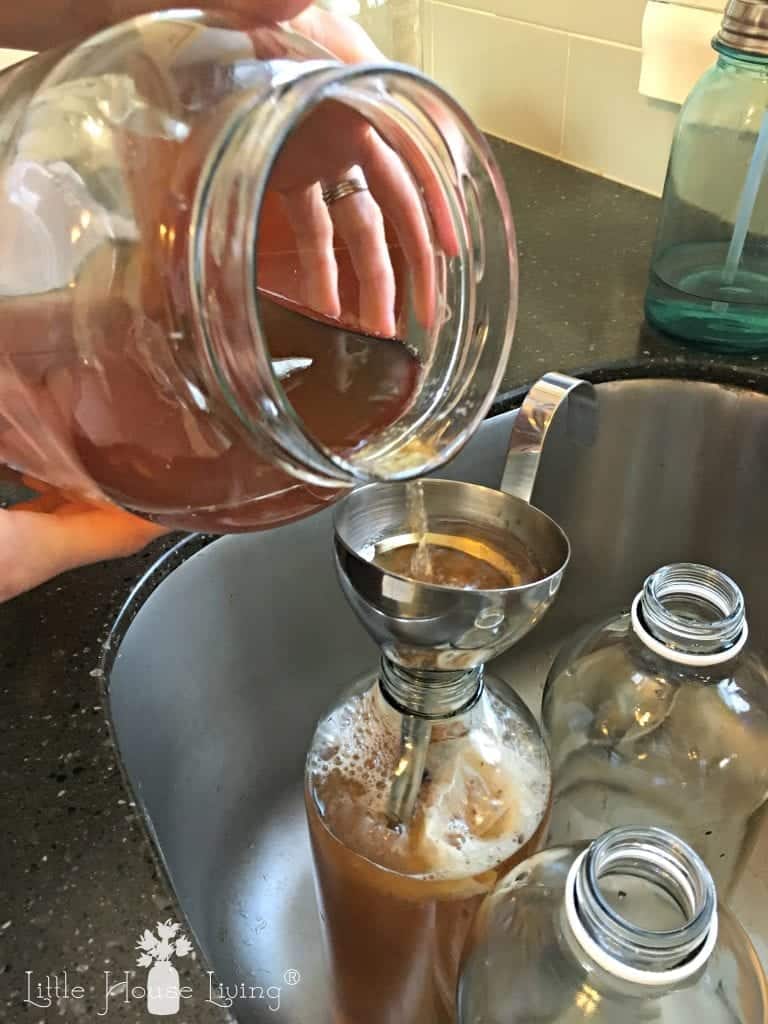
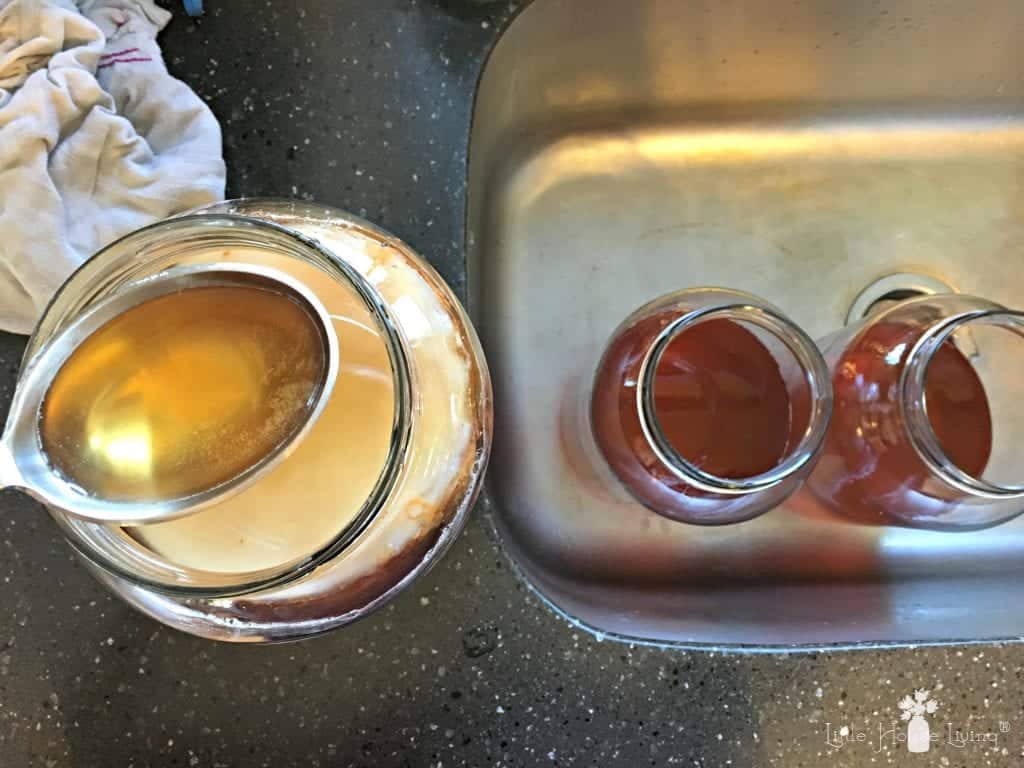
Now place the strainer/funnel within the prime of the jars. I take advantage of this one from Norpro and it helps catch any of the yeasty elements which might be within the backside of the gallon jars. Slowly pour the first ferment kombucha into your 2nd ferment jars.

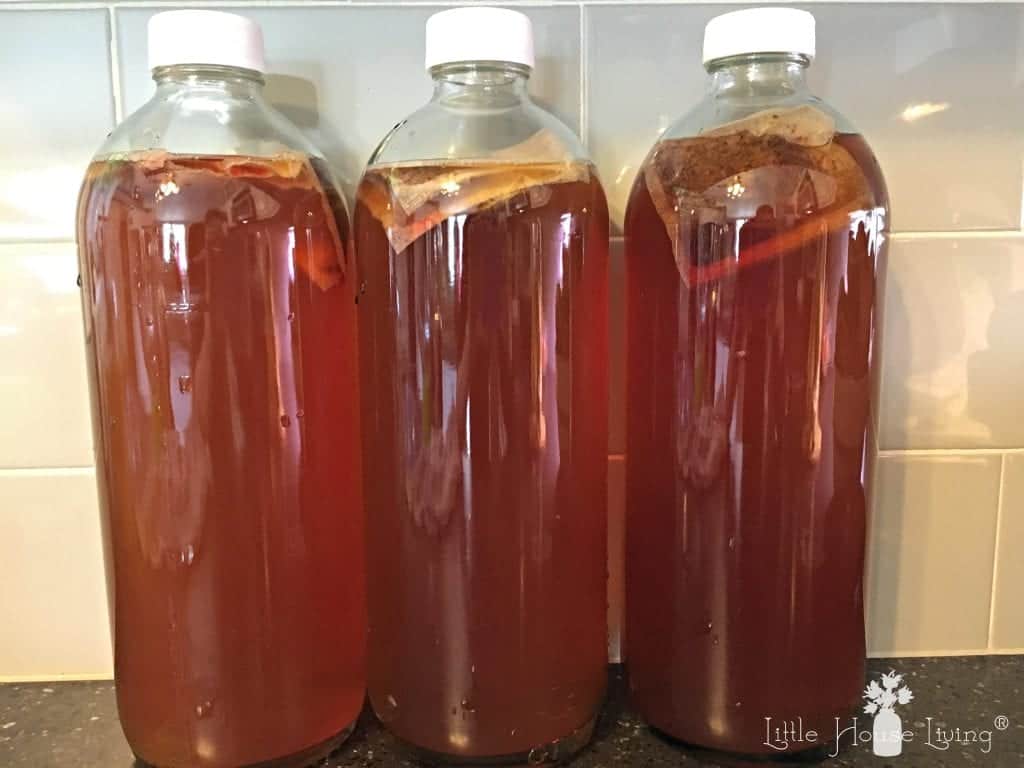
Like I mentioned, we’ve discovered that 3 half gallons is the proper quantity of jars wanted for the 2nd ferment in case you are making 2 gallons of kombucha at a time. You’ll wish to fill these virtually to the highest however go away them a bit of little bit of area or they could explode and go away a sticky mess whereas they’re fermenting.
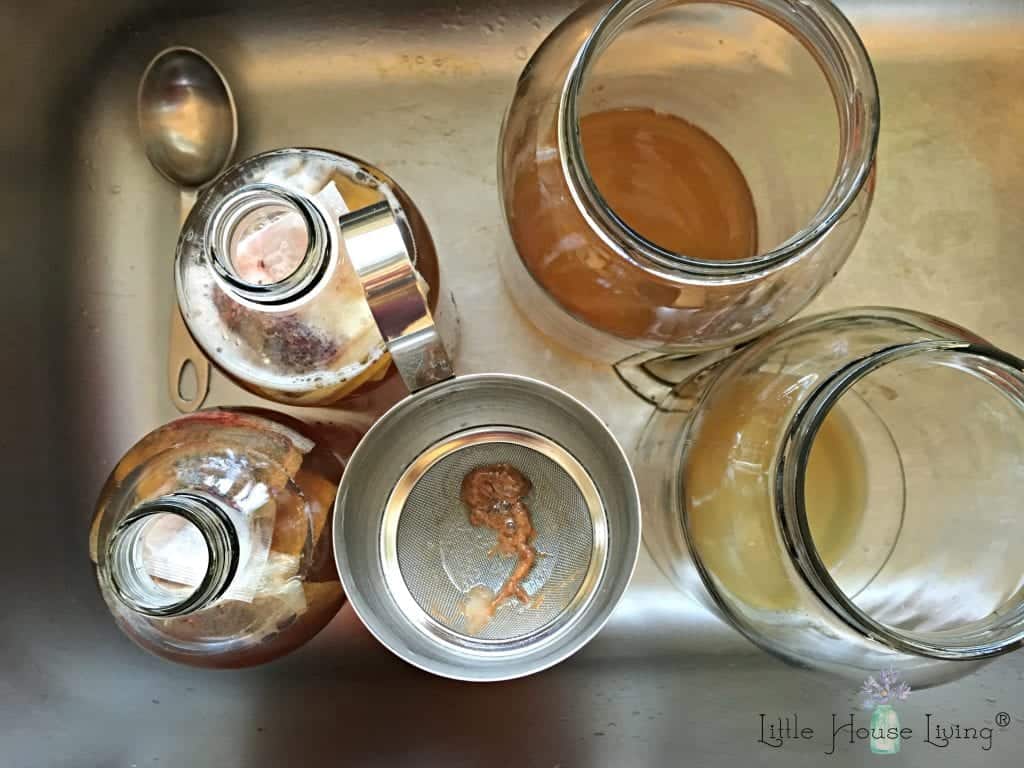
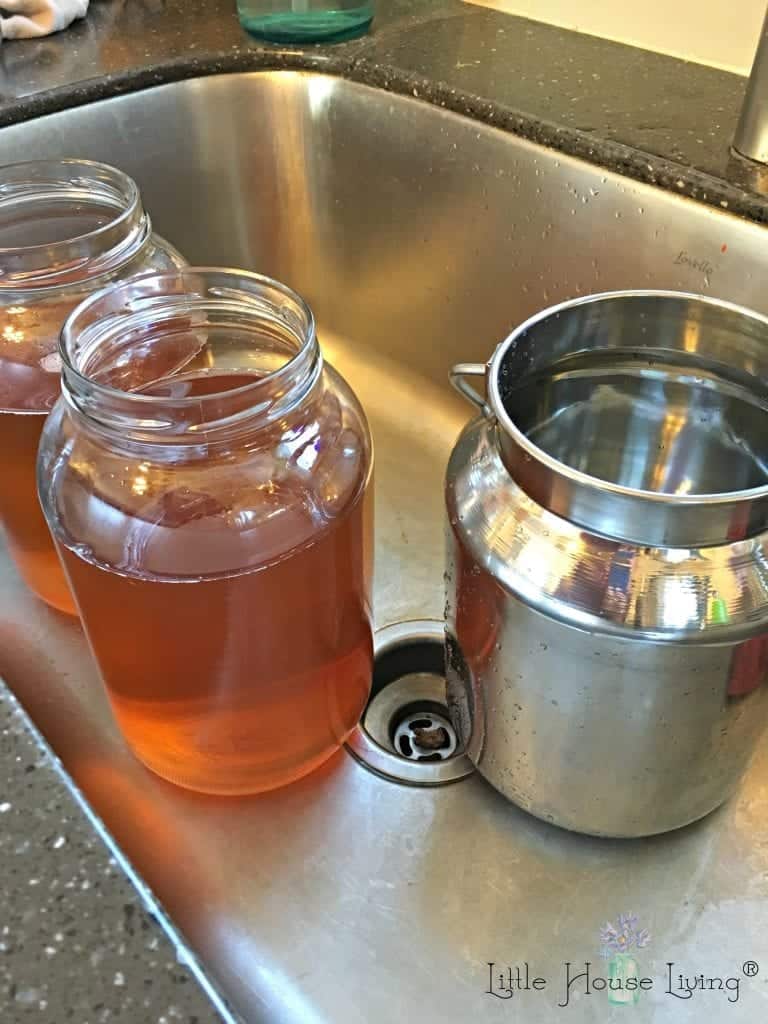
Right here’s what my sink seems like after I completed getting the 2nd ferment prepared. You possibly can see the empty gallons that I simply poured into the half gallons which might be additionally full of their flavored tea luggage. The strainer remains to be sitting within the prime of the final half gallon jar and has a pleasant huge piece of yeast in it that I strained out.
Now put the lids on the half gallons and stick them proper on the countertop in an space that won’t be disturbed for the following couple of days. The 2nd ferment wants to sit down out for five days earlier than you place it within the fridge and it’s able to drink. We don’t pressure this and go away it in these bottles (within the fridge) till we’re able to drink them so the flavour retains compounding.
Hopefully, this tutorial is sensible! I do know it’s a number of steps, however like I mentioned above, when you get used to the routine of doing it (each 10 days), it turns into second nature, and you’ll at all times have freshly made kombucha!


Merissa Alink
Merissa has been running a blog about and living the simple life since 2009 and has internationally revealed 2 books on the subject. You possibly can examine Merissa’s journey from penniless to freedom on the About Page. You possibly can ship her a message any time from the Contact Page.


