

Making your personal earrings is a enjoyable solution to create some wearable artwork that you would be able to completely customise to no matter fits your style!
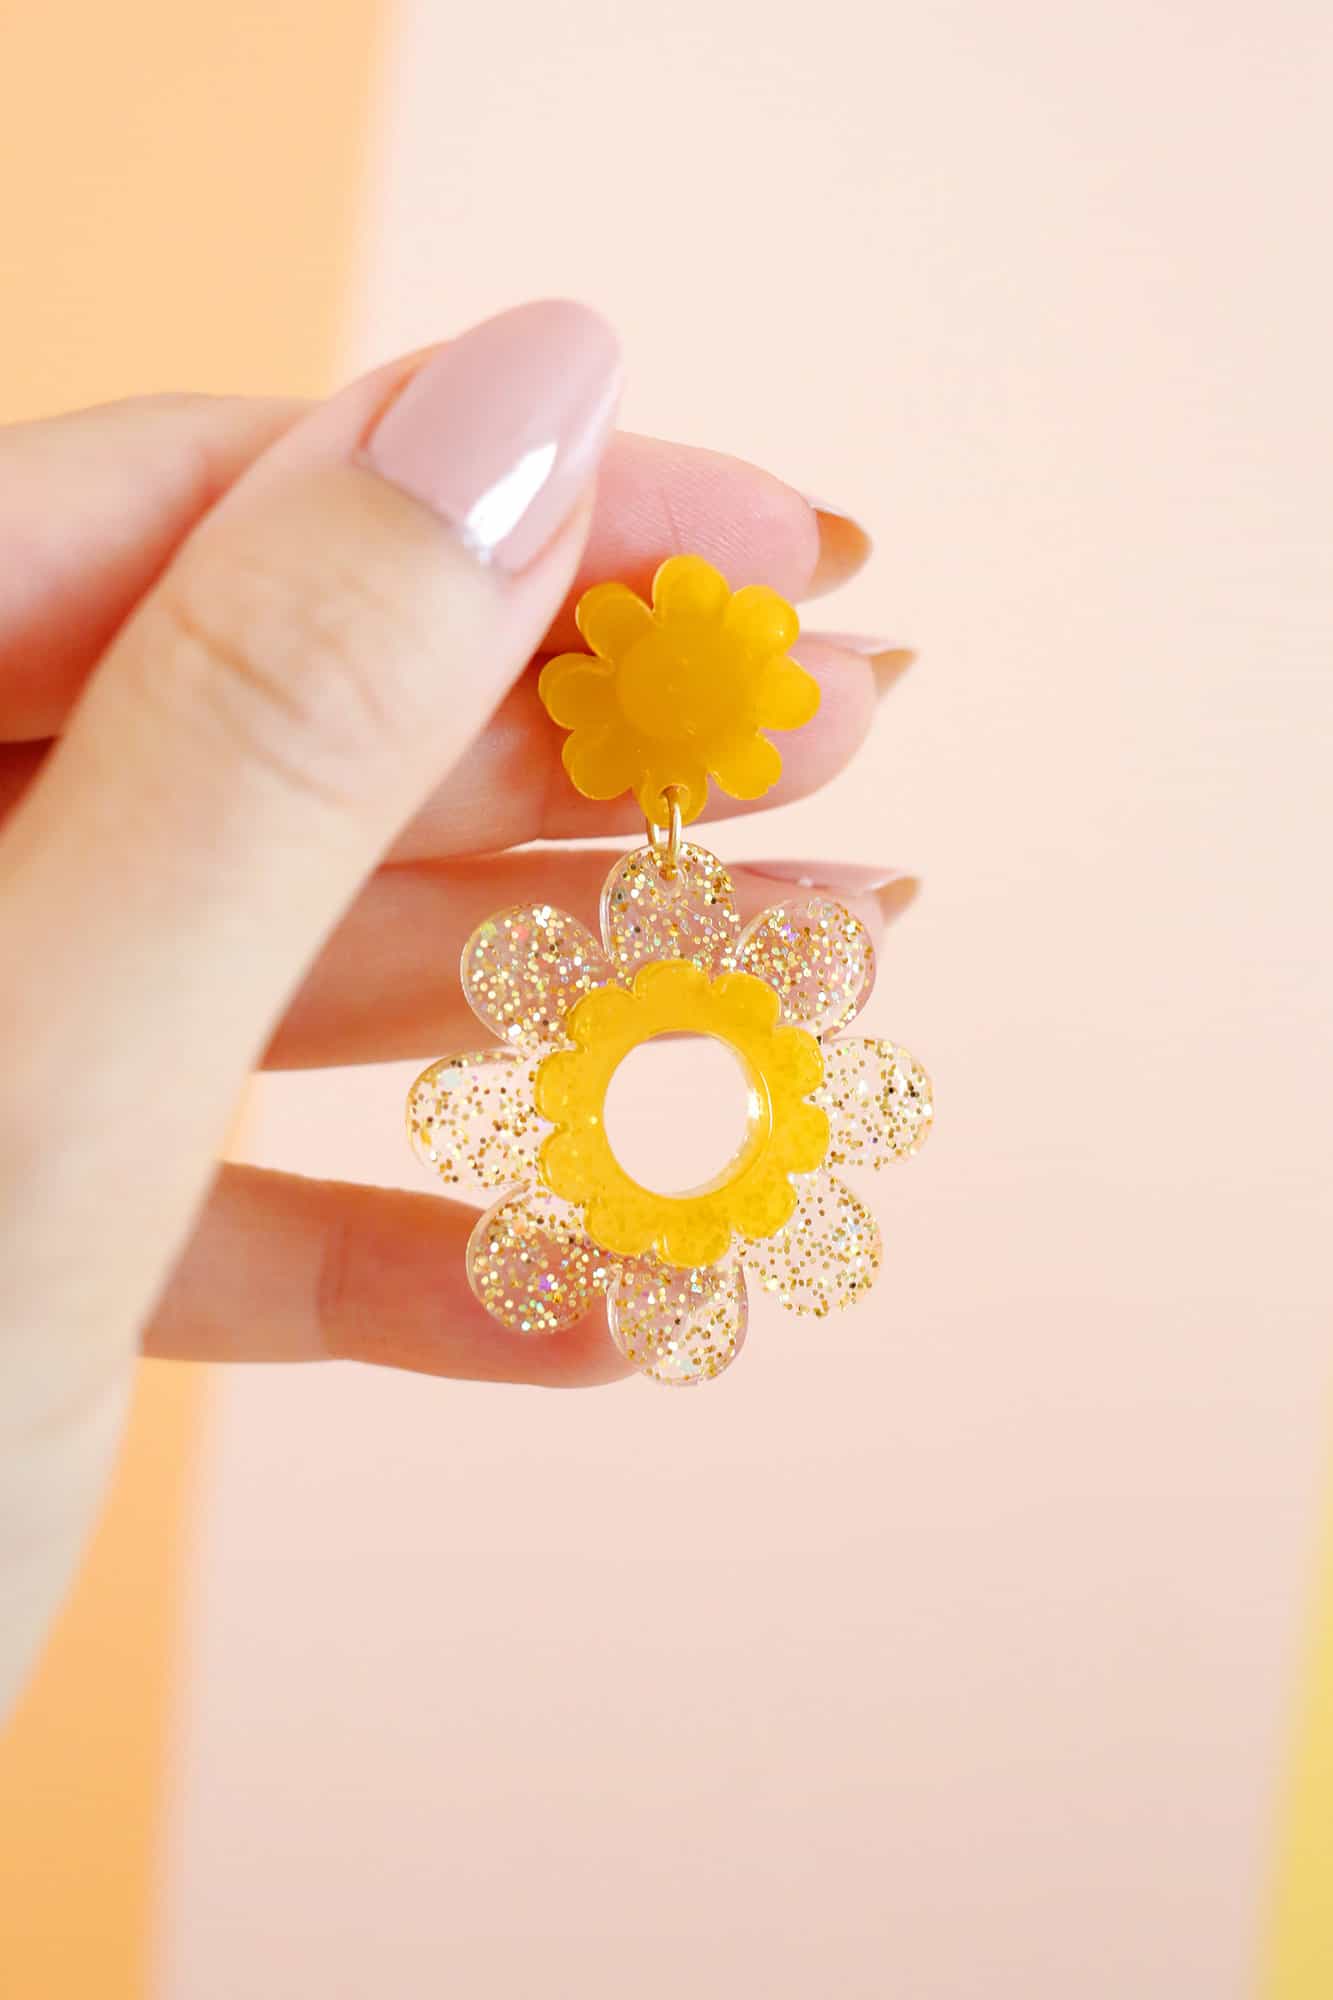
I like the daisy pattern that’s in proper now, and I figured this summer time was a good time to create my very own daisy DIY earrings.
If you happen to haven’t used resign epoxy earlier than, you’ll be shocked at how straightforward the method is—and also you’ll be making daisy earrings for your self and your mates very quickly.
Love jewellery DIY? Take a look at:
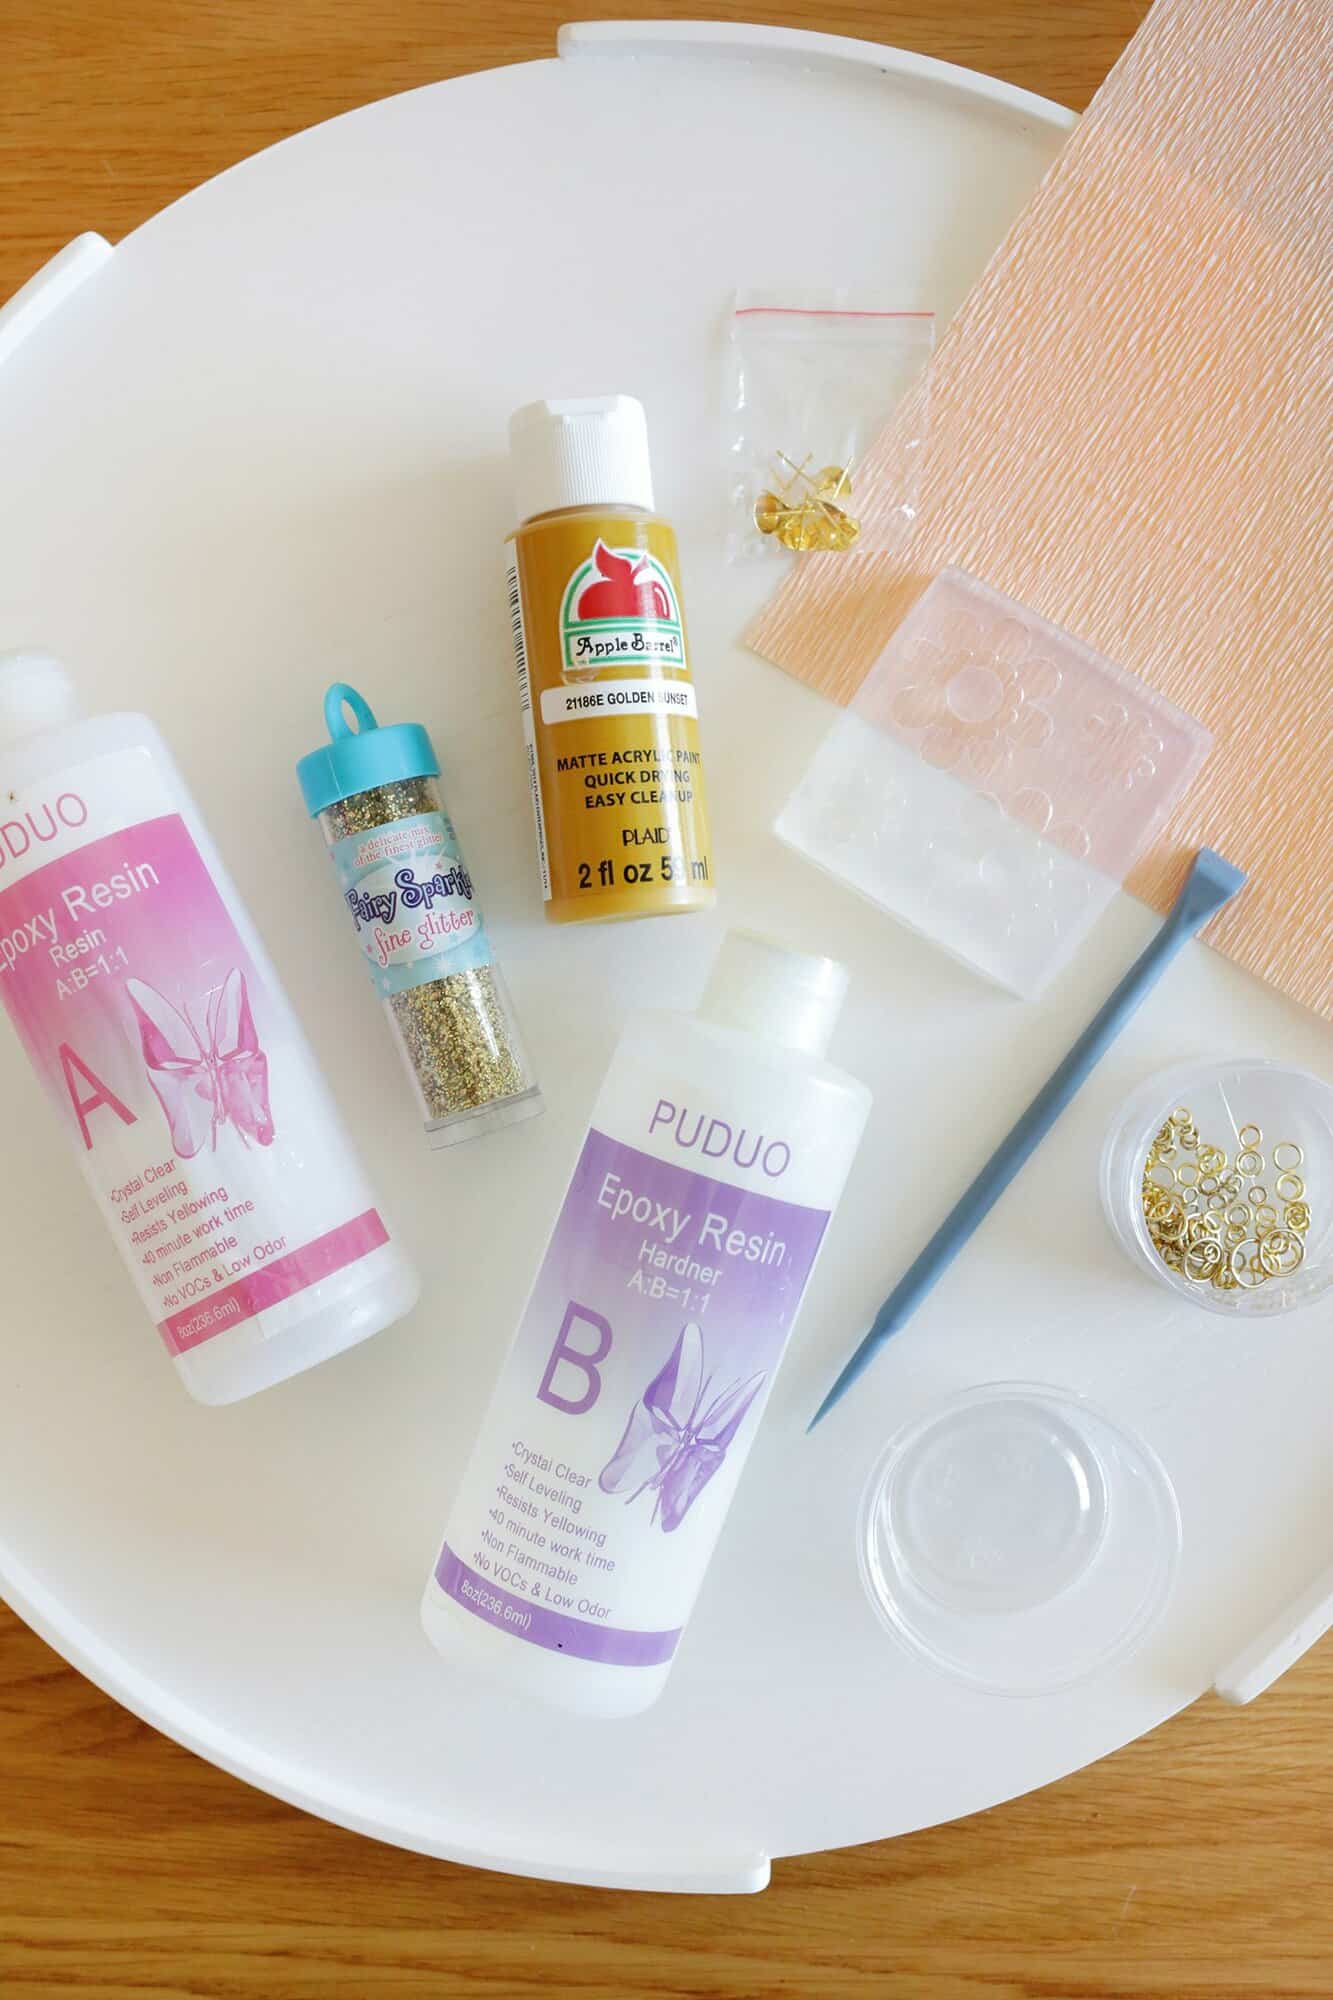
Provides:
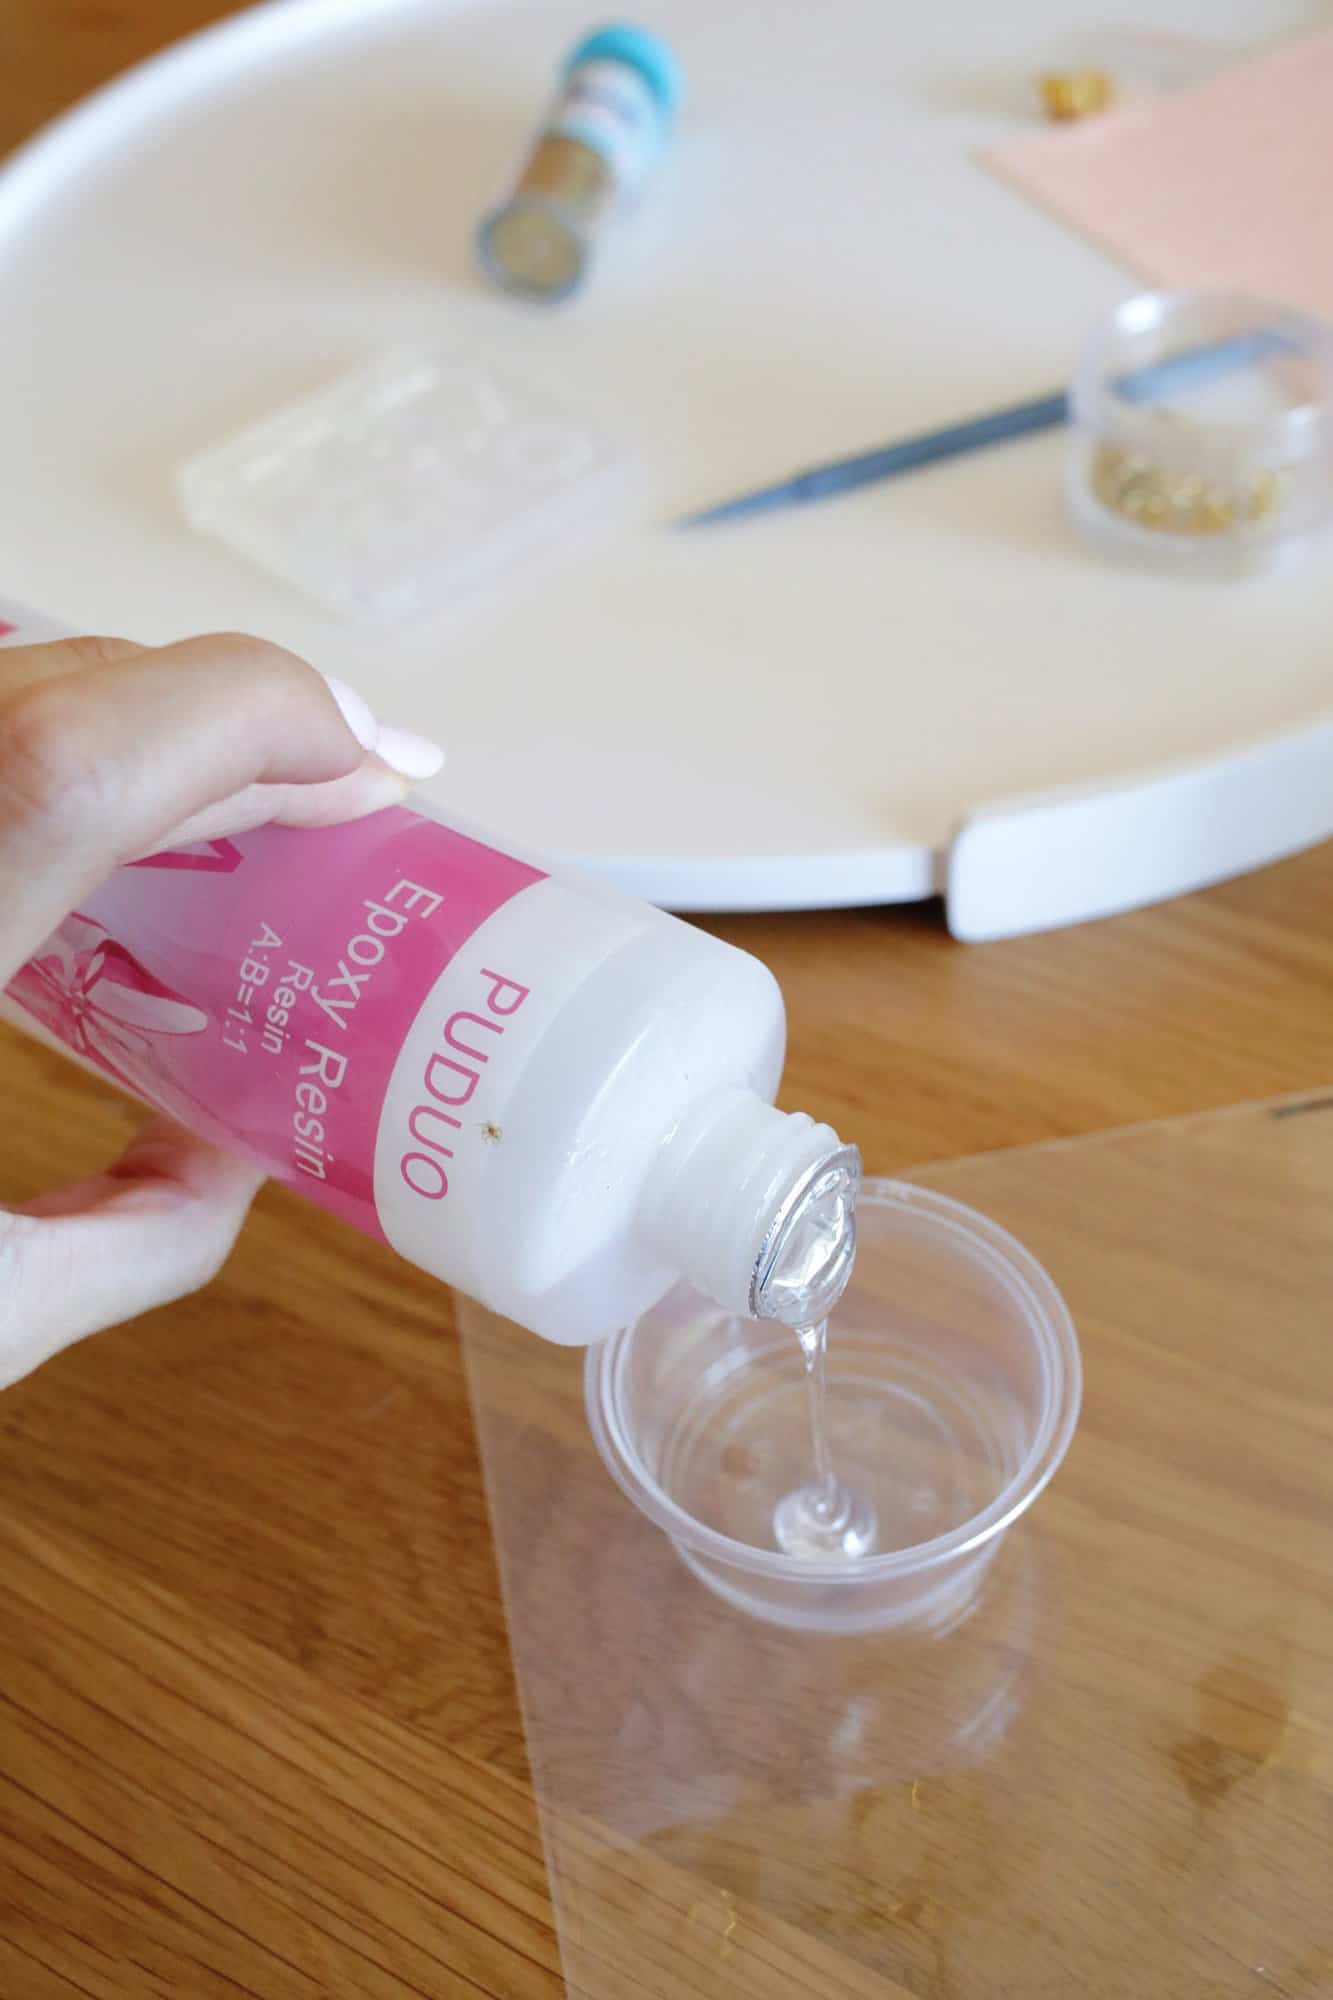
First, you’ll wish to combine up a small quantity of resin so you possibly can create the yellow a part of your flowers (though you need to use no matter coloration you need for yours). Pour about 3 teaspoons of half A into your cup (simply eyeball it) after which one other 3 teaspoons of half B into your cup.
The kits counsel you put on gloves when pouring resin, however I’m fairly good at cleanly pouring small quantities so I didn’t.
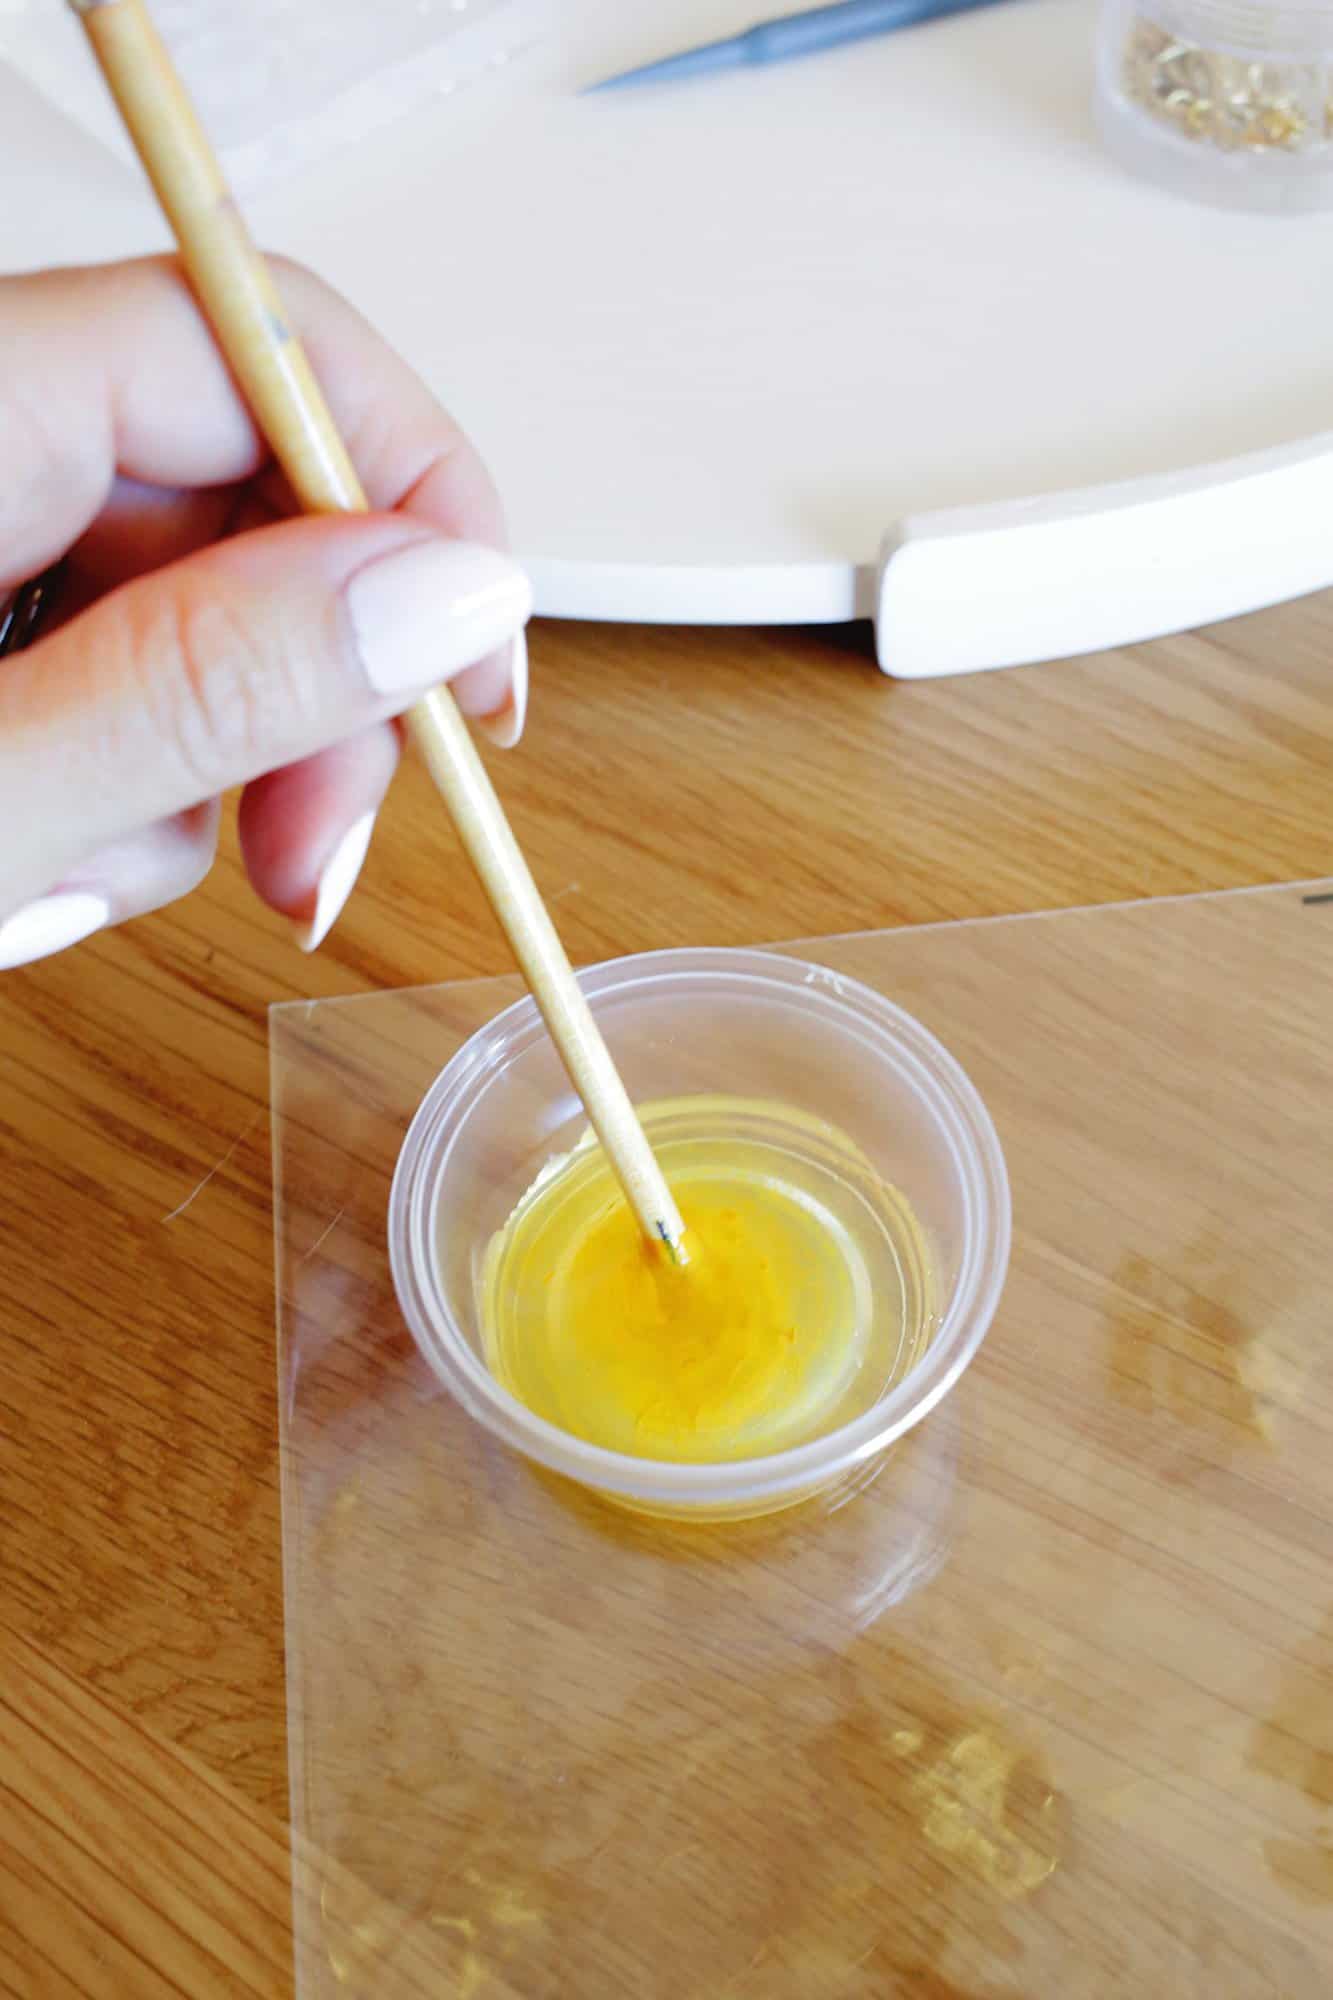
Take your acrylic paint and add in small quantities and blend collectively till you get a coloration you want.

A small versatile cup means that you can pinch the highest fringe of the cup to create a spout for the resin to be poured out of, however make sure to wipe the drips off the cup with a paper towel after every pour.
Or, you need to use a disposable pipette, which is nice for getting resin into small molds with out overflowing the mildew.
I poured the yellow resin rigorously into the small flowers after which into the bottom a part of the large flower and allow them to set in a single day (or test your resin to see how lengthy it takes to dry).
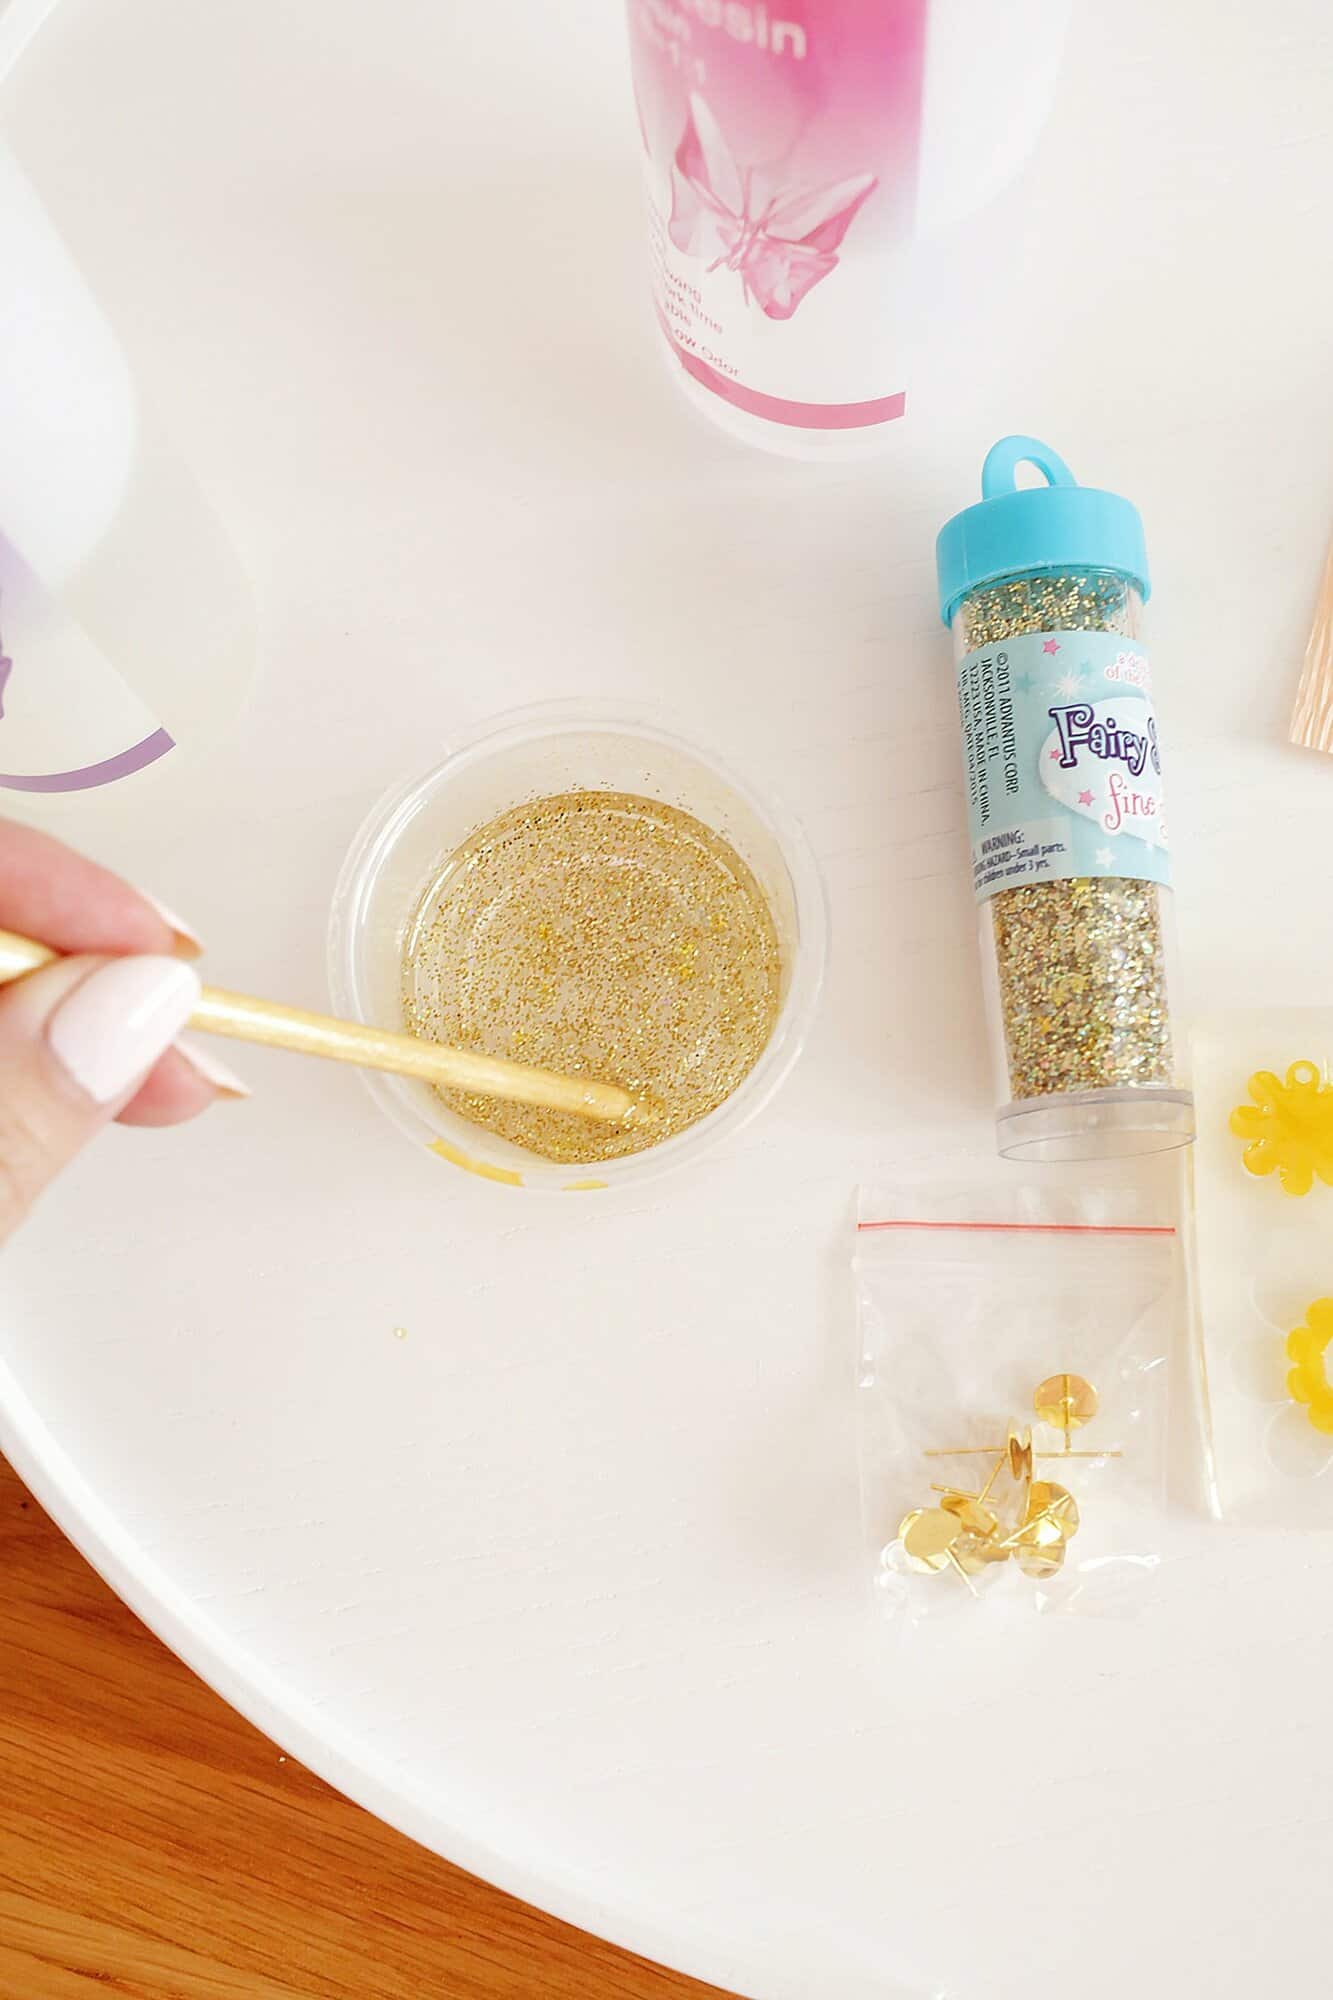
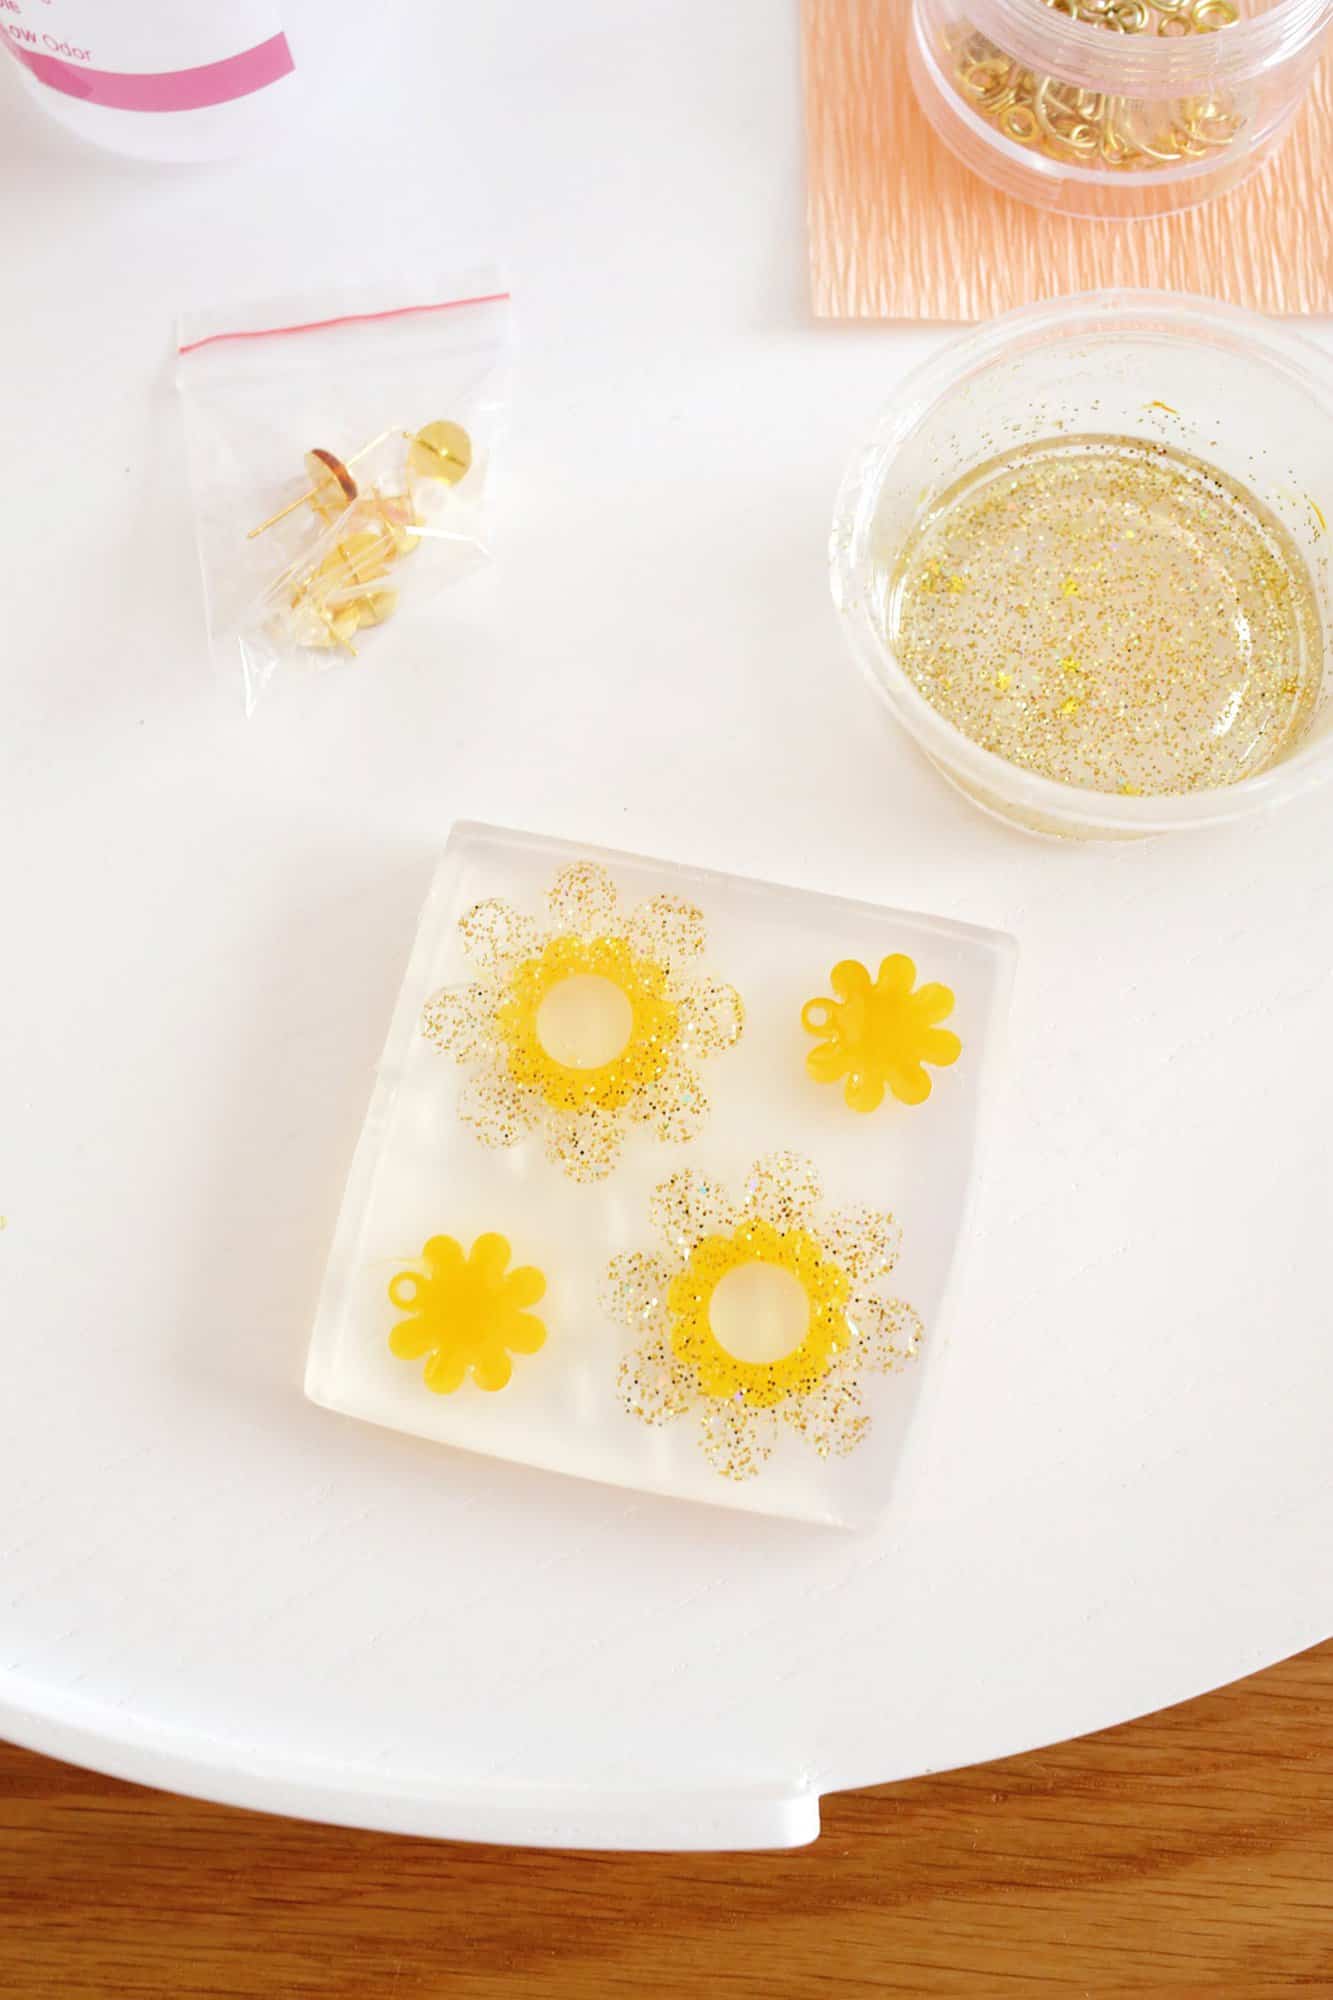
Subsequent, I repeated the method of pouring 3 teaspoons every of half A and B right into a cup and added free glitter and blended all of it collectively. Much less glitter will make it extra clear and extra will give it extra of an opaque look.

Enable your mildew to completely dry earlier than coming out your items.
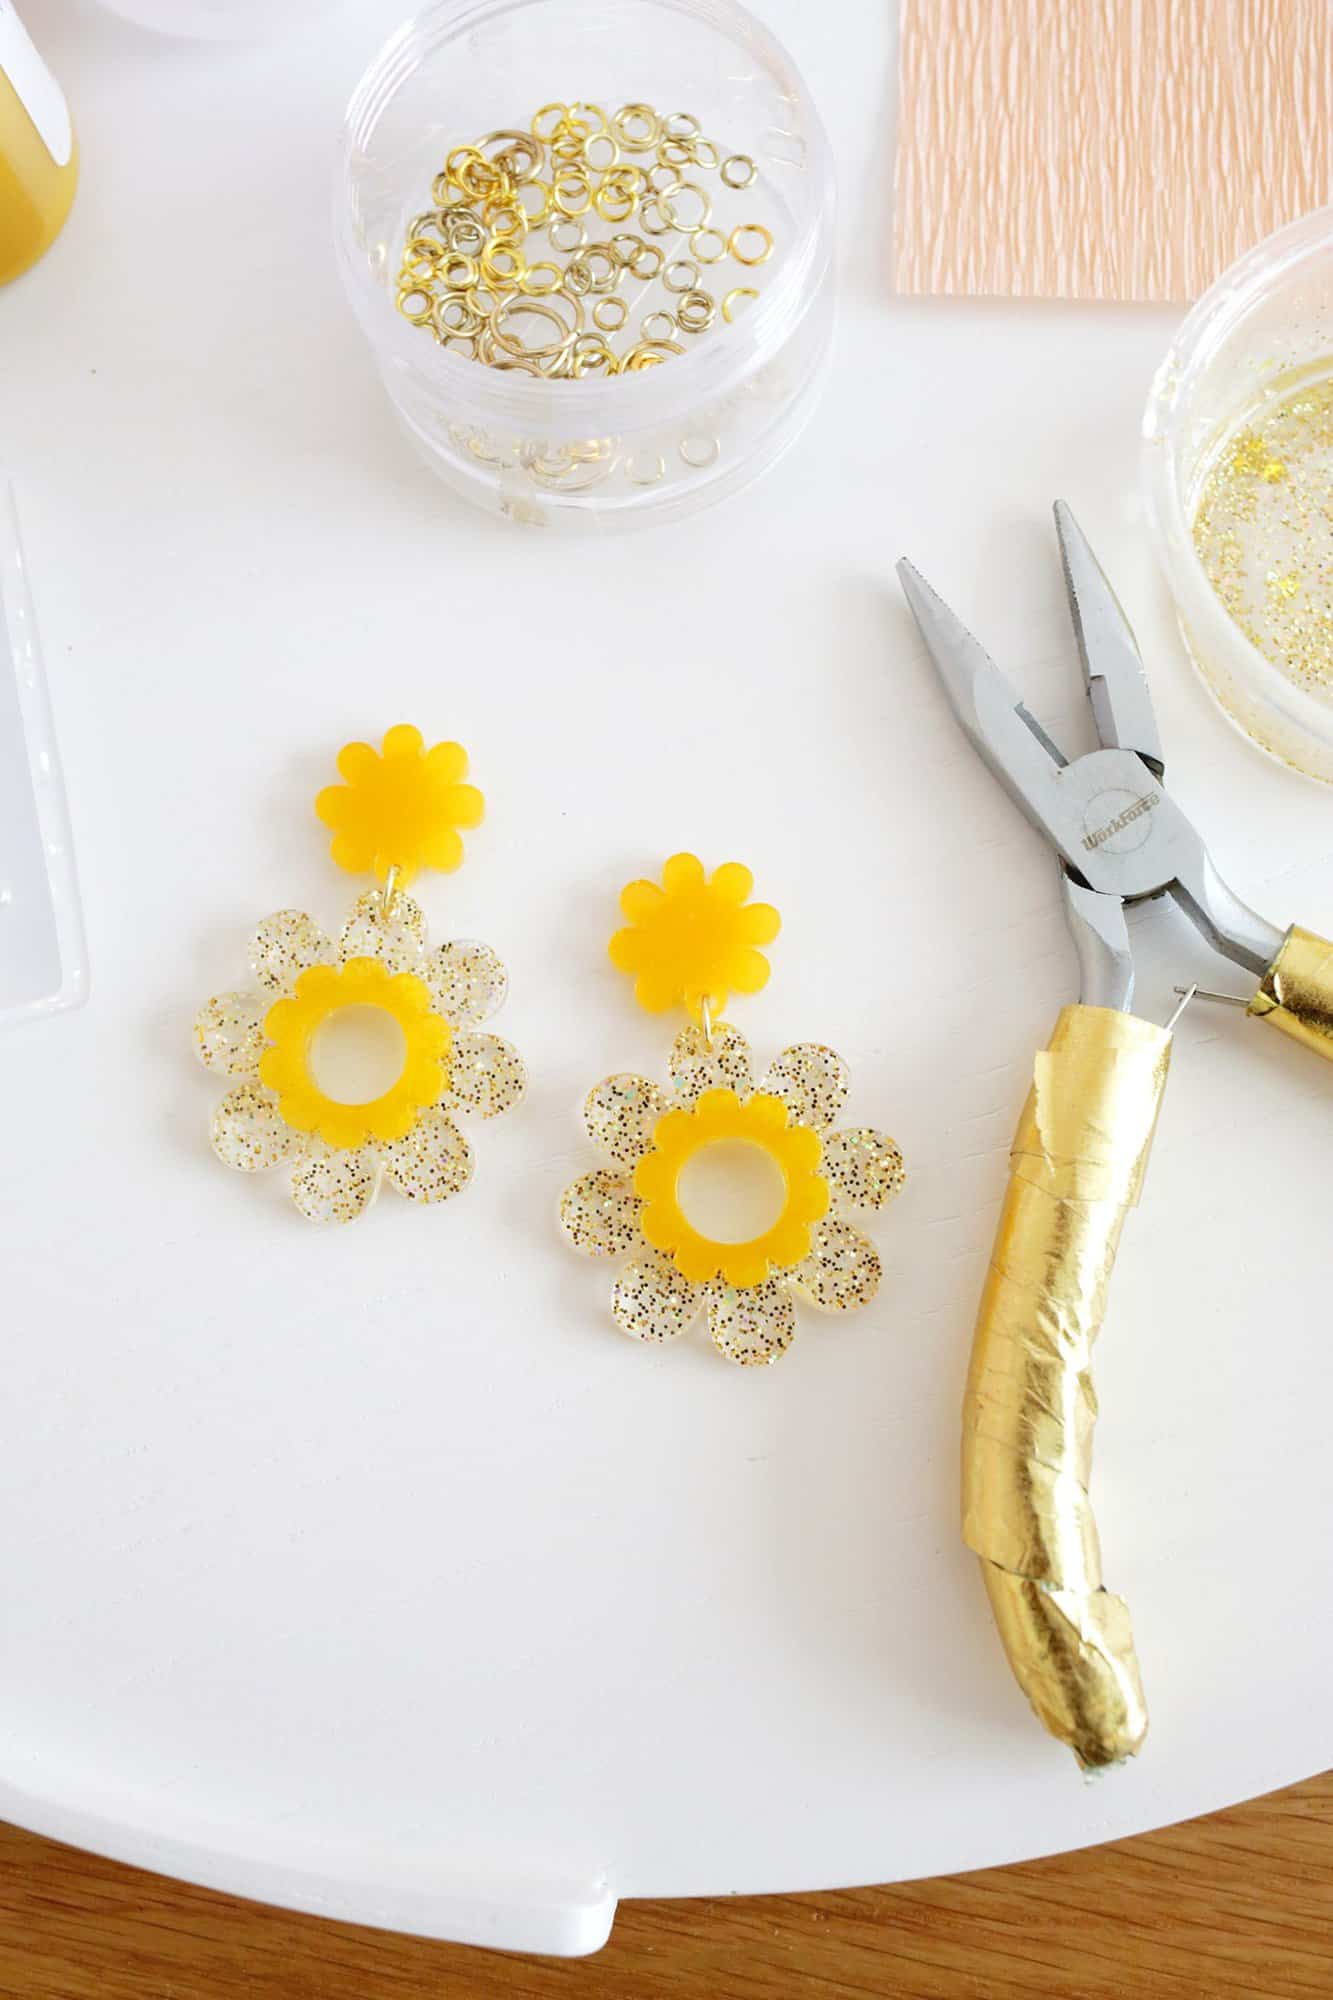
As soon as your items are dry, join the 2 shapes with a bounce ring utilizing small pliers to open and shut the bounce ring (the mildew ought to have tiny pillar in every form that creates a gap so you possibly can join them later).
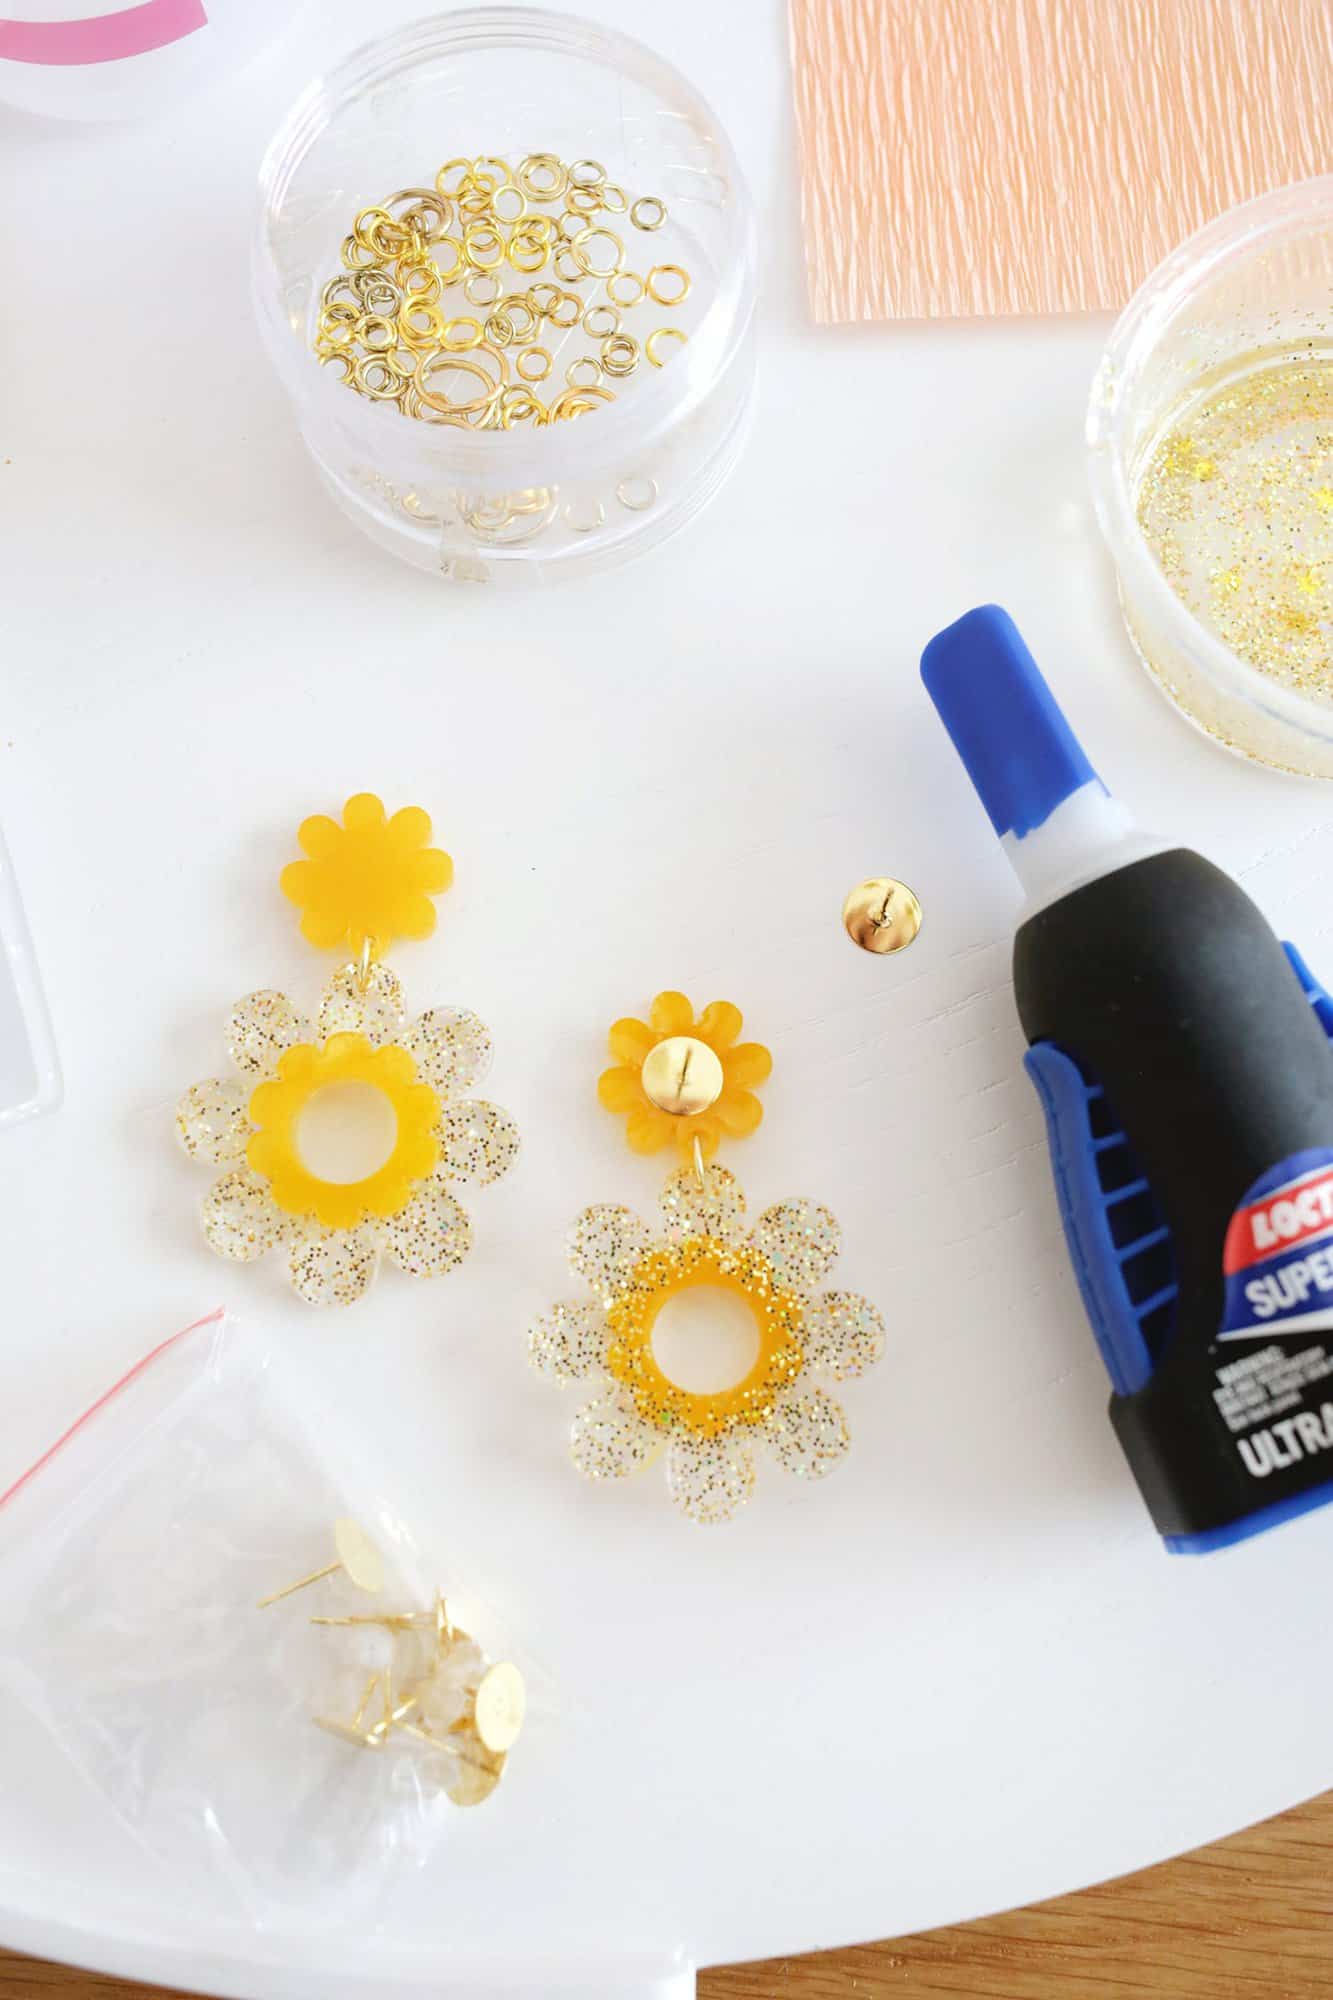
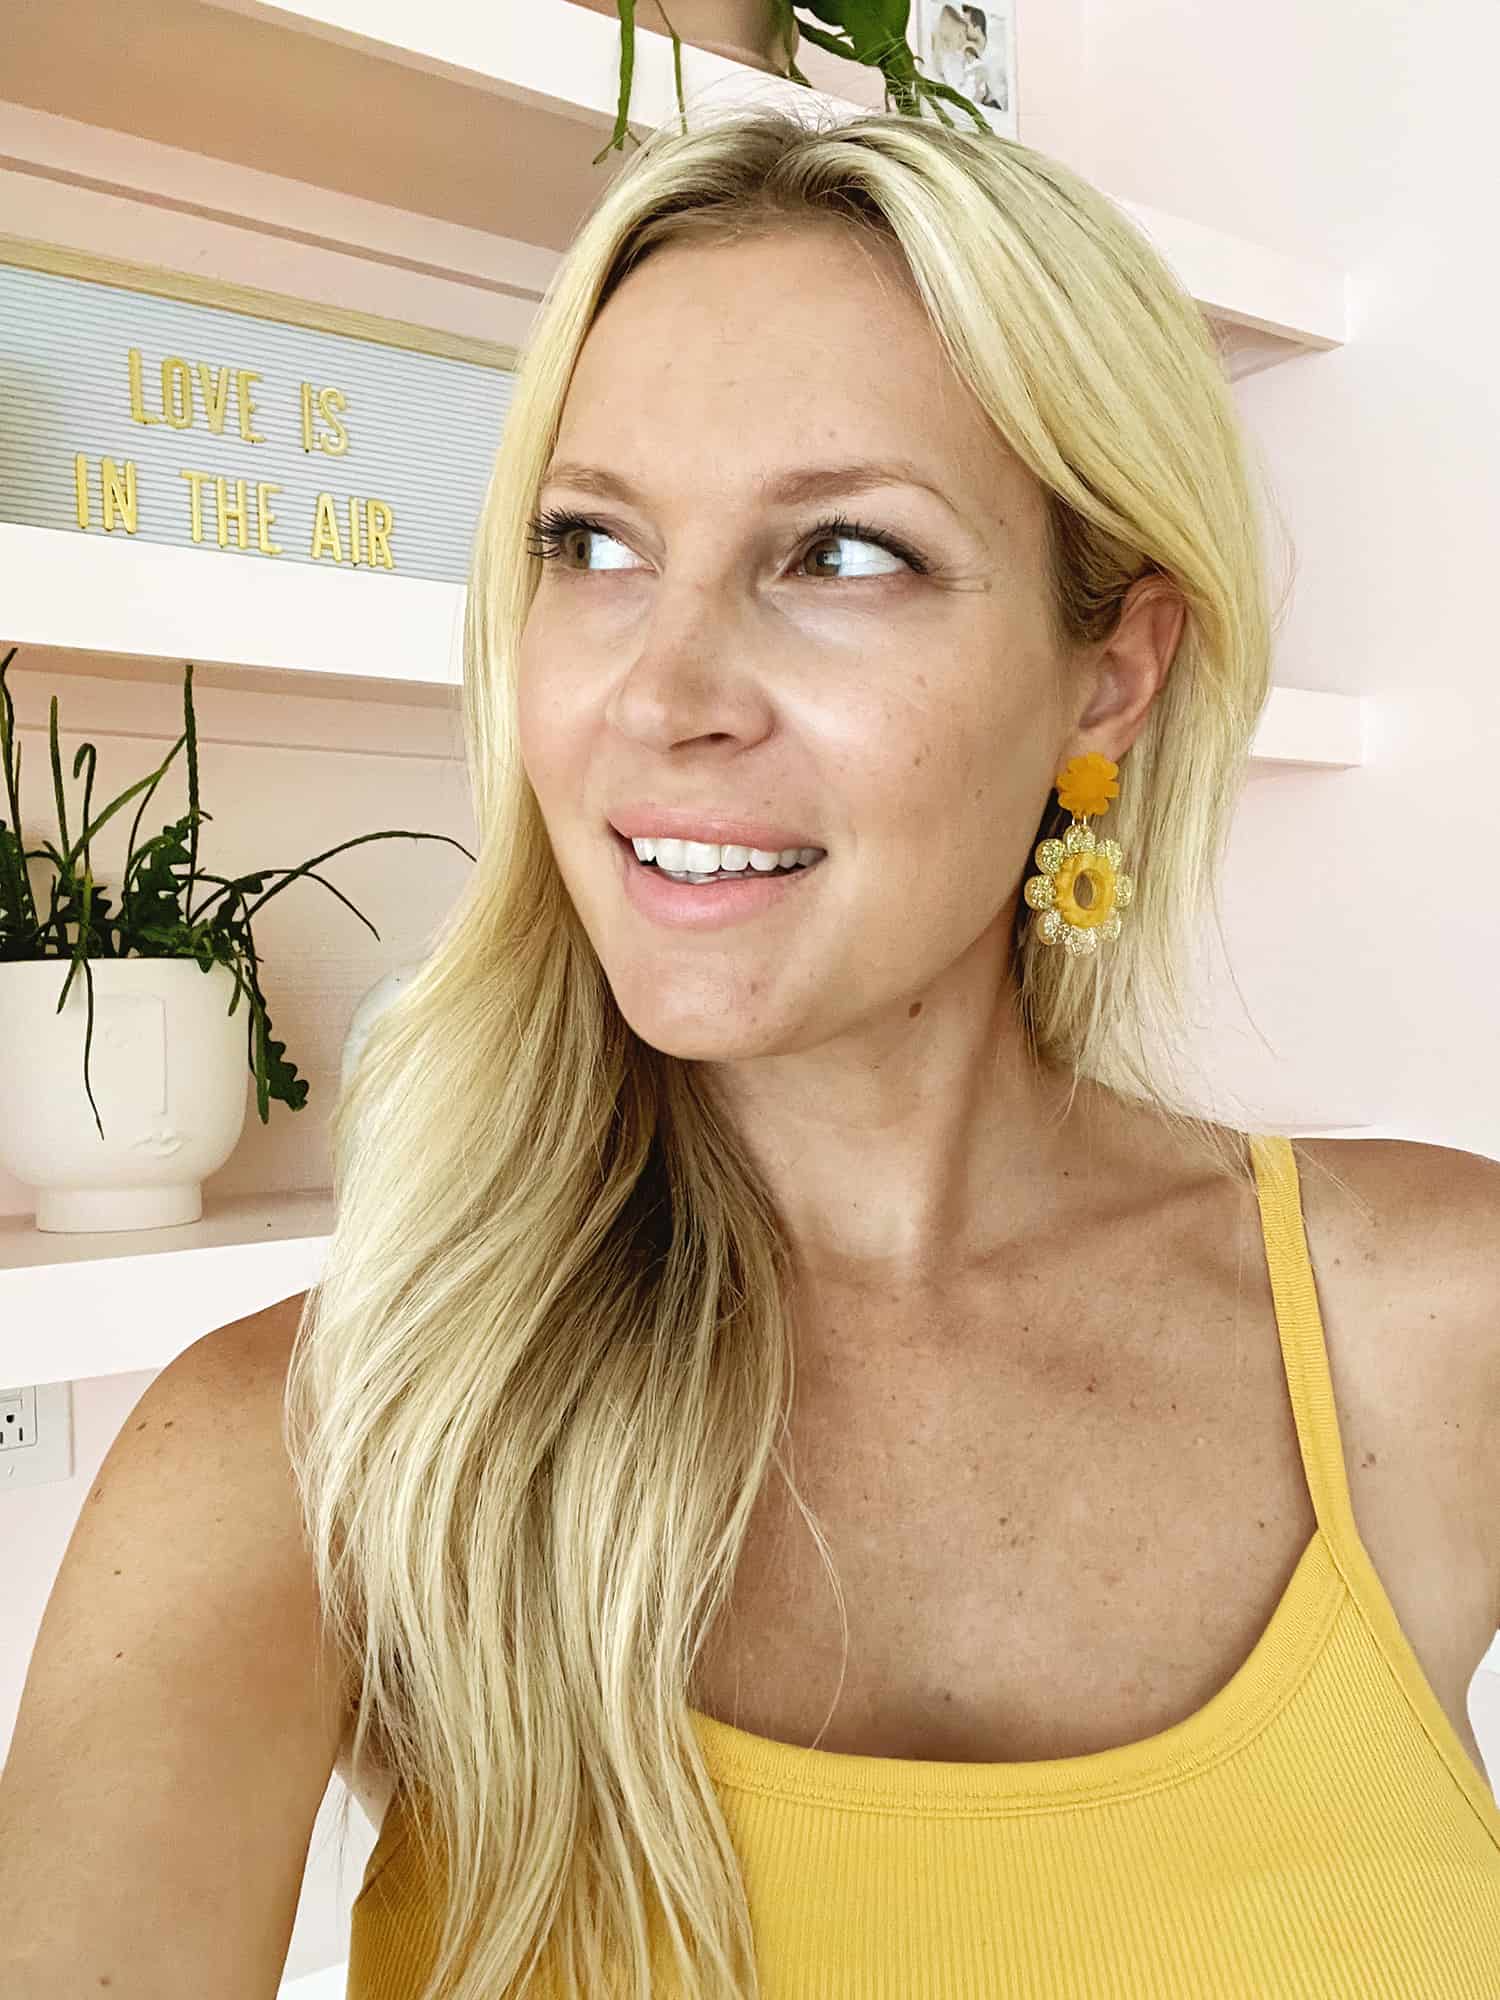
As soon as the items are linked, connect your earring stud put up to the again of the small flower with some tremendous glue and permit the glue to completely set earlier than sporting. As soon as it’s dry, it’s time to show your new earrings!
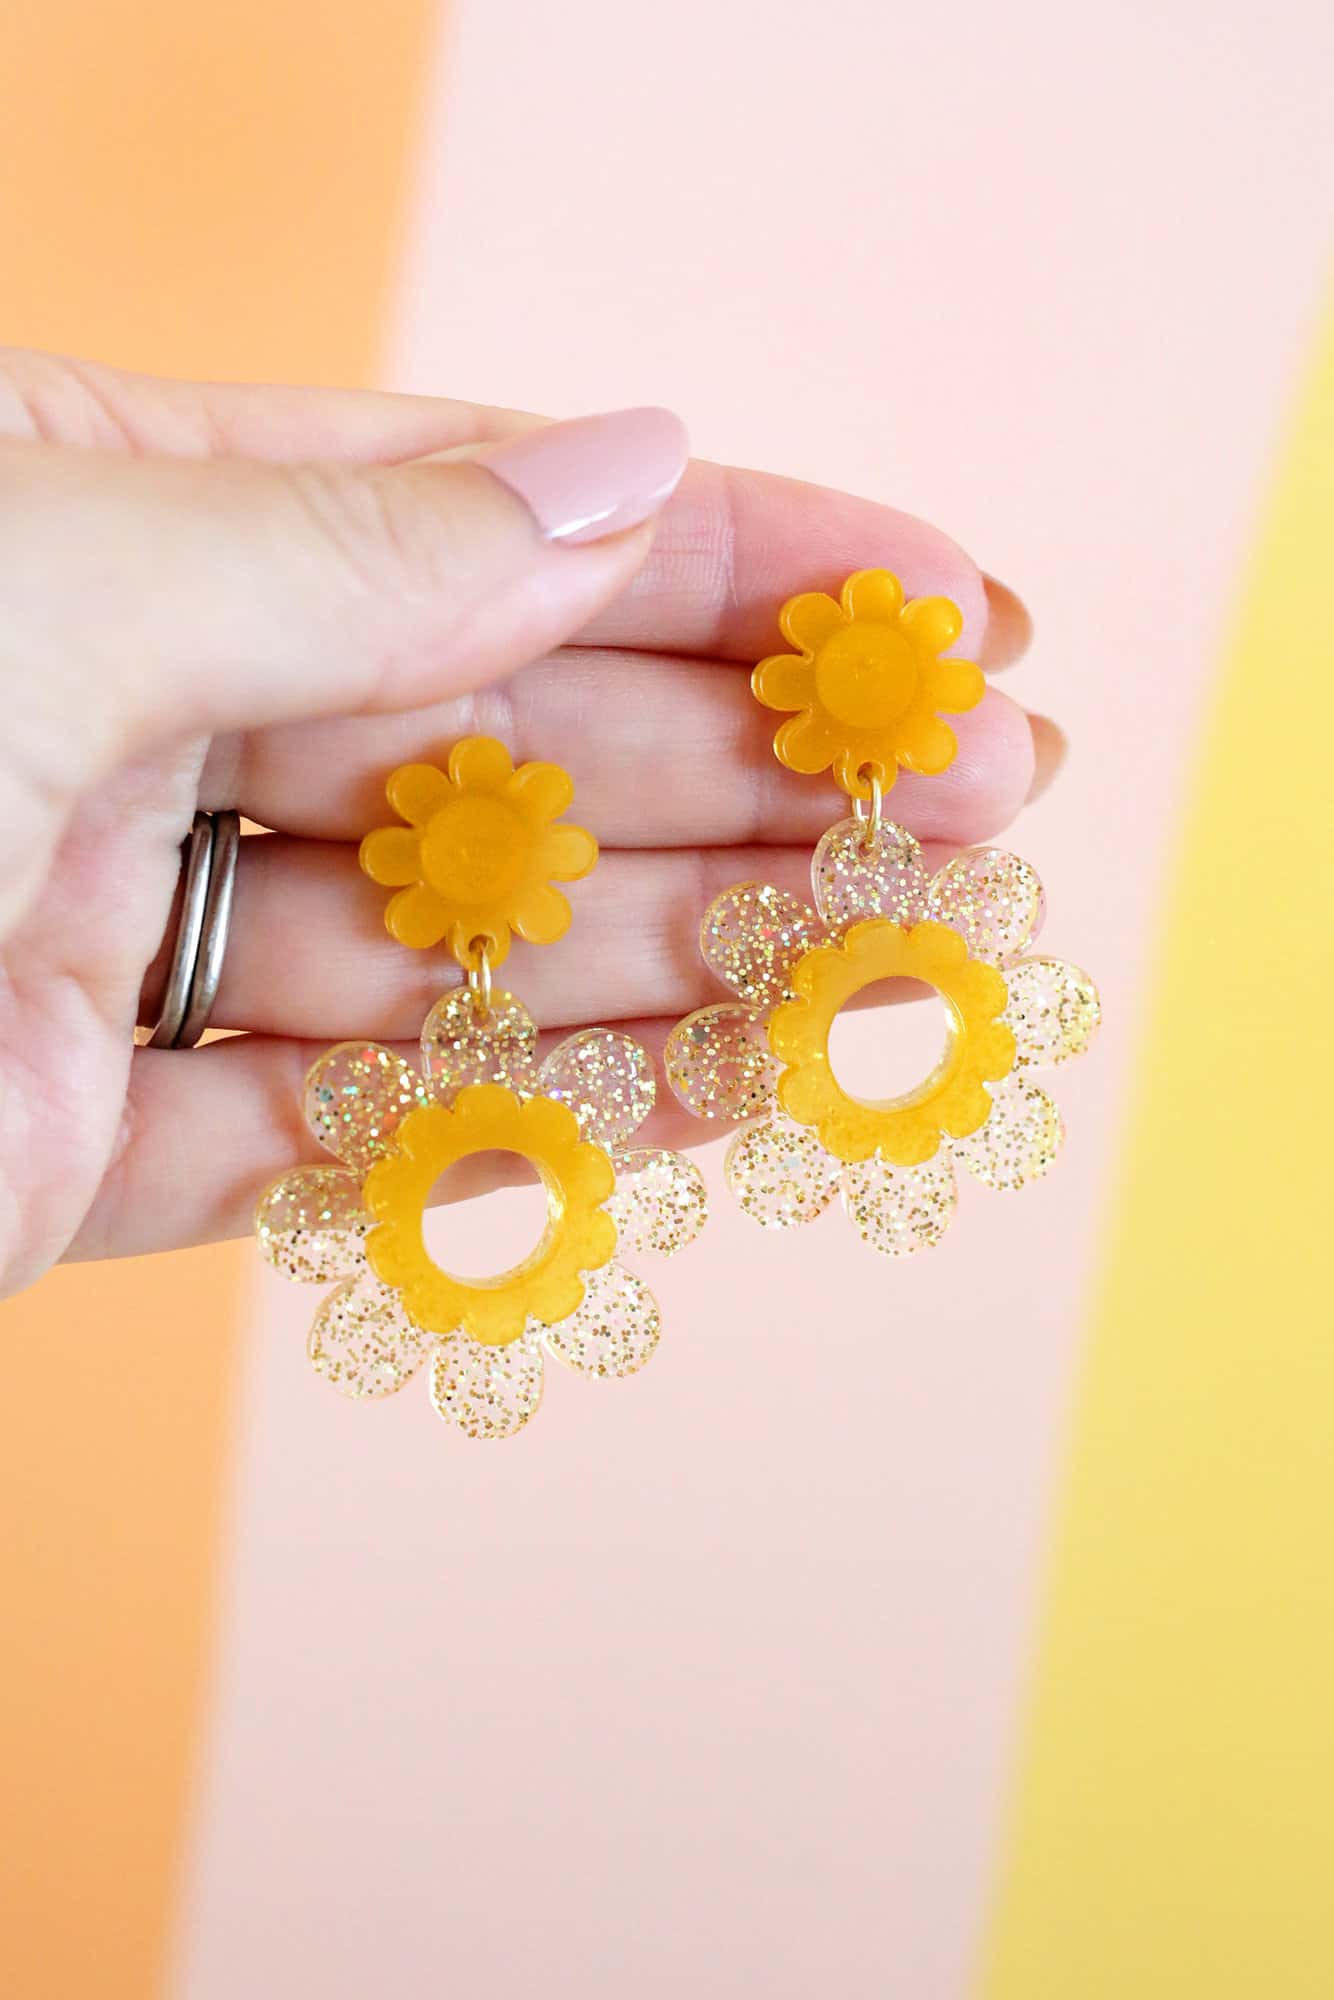
Aren’t they so cute? And acrylic like that is fairly mild, so that they don’t really feel like a heavy earring (despite the fact that they’re dimension).
You may completely customise these to be no matter colours you want simply by altering the paint or glitter coloration (and you’ll add glitter and paint collectively, too!)
Whether or not you’re a DIY earrings fan or a daisy fan, these are positive to please and it’s tremendous straightforward to make a number of pairs, so that you may give them as items, too. xo. Laura
Love daisies? Take a look at:
Make Your Personal Daisy DIY Earrings
Create acrylic daisy earrings at house with this DIY earring challenge!
-
2 Wood or plastic stick to combine epoxy may also use finish of small paintbrush
-
1 small needle nostril pliers
-
2 Disposable eye dropper or pipette non-obligatory
-
2 Small cup to combine substances small disposable consuming cup is nice
-
Daisy earring mildew
-
First you’ll wish to combine up a small quantity of resin so you possibly can create the yellow a part of your flowers (though you need to use no matter coloration you need for yours). Pour about 3 teaspoons of half A into your cup (simply eyeball it) after which one other 3 teaspoons of half B into your cup. The kits counsel you put on gloves when pouring resin, however I’m fairly good at cleanly pouring small quantities so I didn’t.
-
Take your acrylic paint and add in small quantities and blend collectively till you get a coloration you want.
-
A small versatile cup means that you can pinch the highest fringe of the cup to create a spout for the resin to be poured out of (wipe the drips off the cup with a paper towel after every pour although) or you need to use a disposable pipette which is nice for getting resin into small molds with out overflowing the mildew.I poured the yellow resin rigorously into the small flowers after which into the bottom a part of the large flower and allow them to set in a single day (or test your resin to see how lengthy it takes to dry).
-
Subsequent I repeated the method of pouring 3 teaspoons every of half A and B right into a cup and added free glitter and blended all of it collectively. Much less glitter will make it extra clear and extra will give it extra of an opaque look.
-
Enable your mildew to completely dry earlier than coming out your items.
-
As soon as your items are dry, join the 2 shapes with a bounce ring utilizing small pliers to open and shut the bounce ring (the mildew ought to have tiny pillar it every form that creates a gap so you possibly can join them later).
-
As soon as the items are linked, connect your earring stud put up to the again of the small flower with some tremendous glue and permit the glue to completely set earlier than sporting. As soon as it’s dry, it’s time to show your new earrings!


